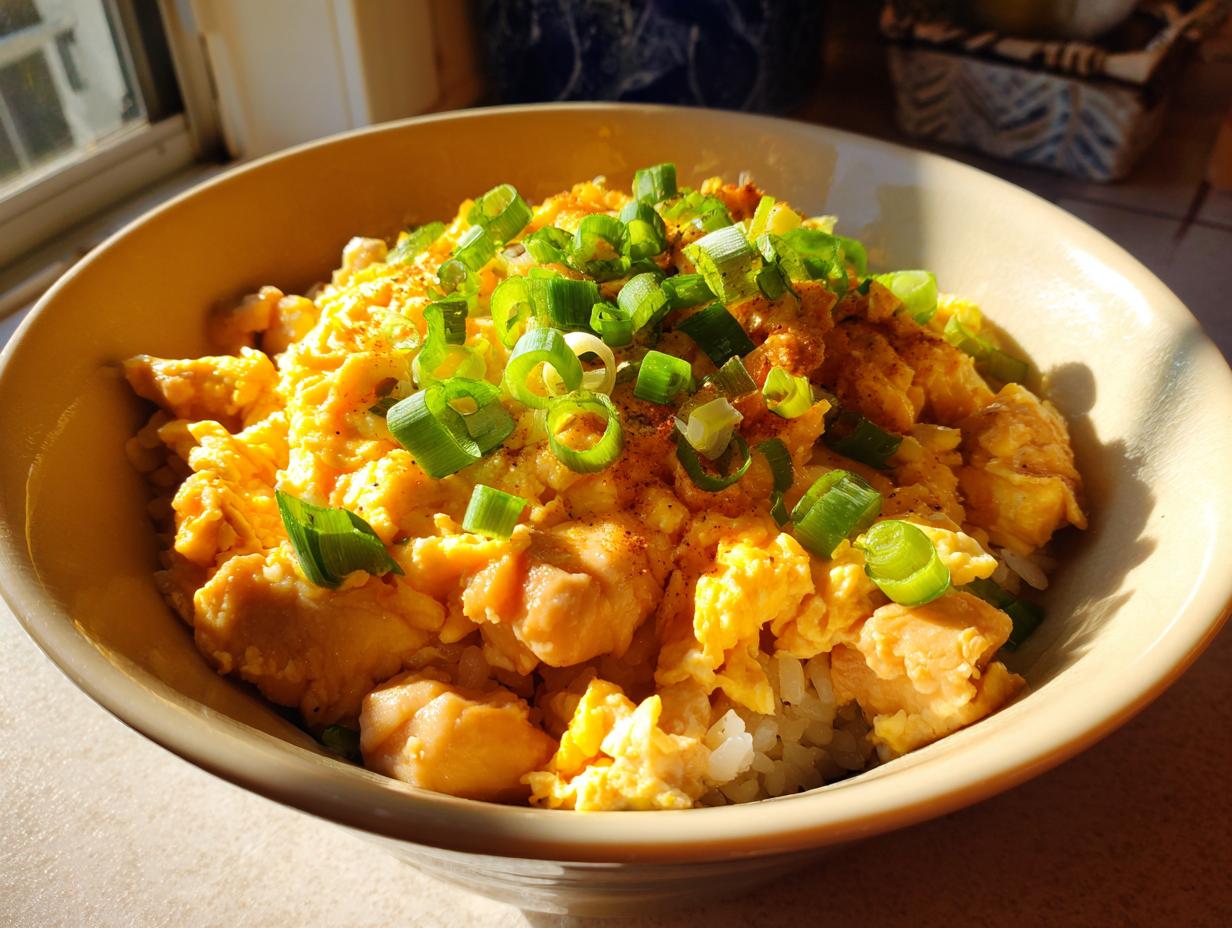
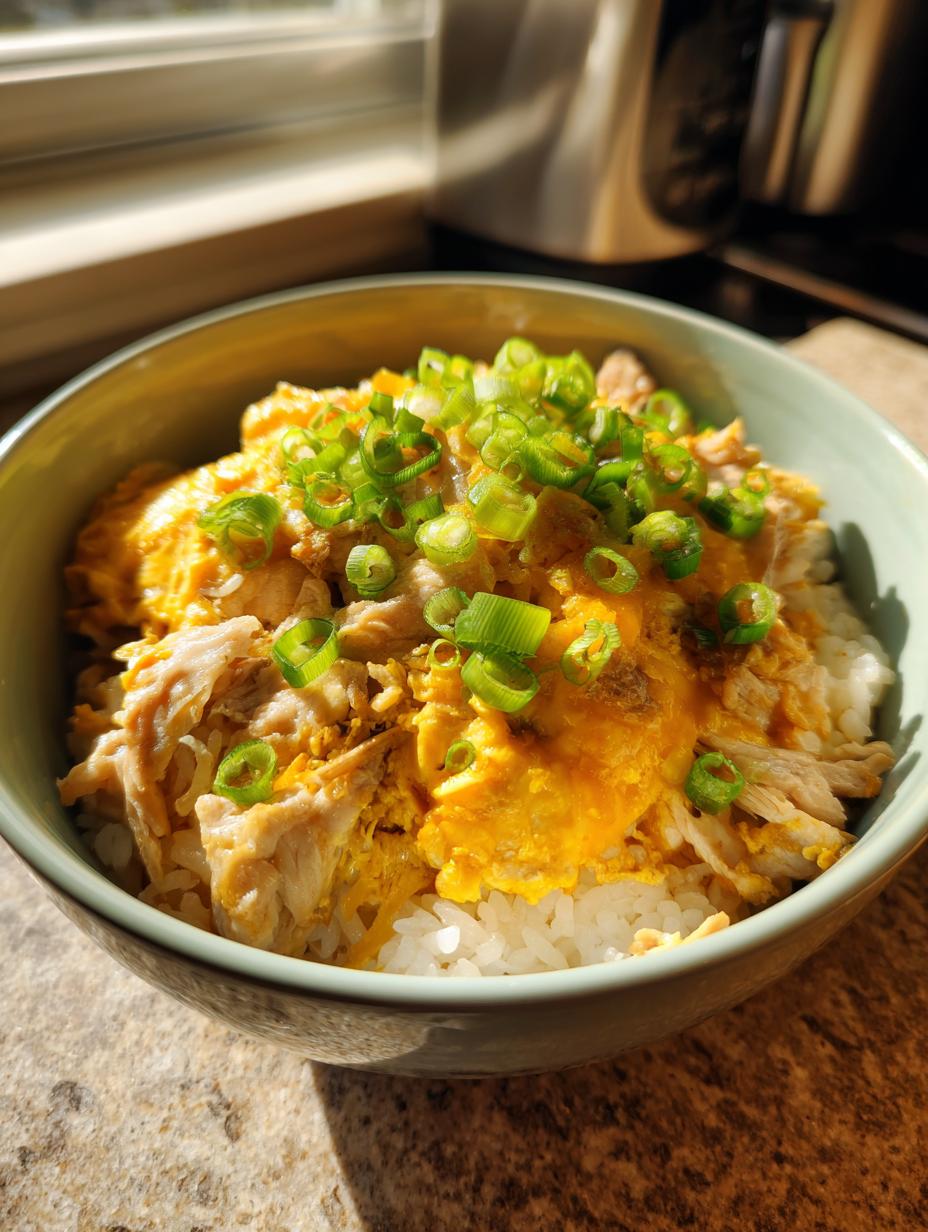
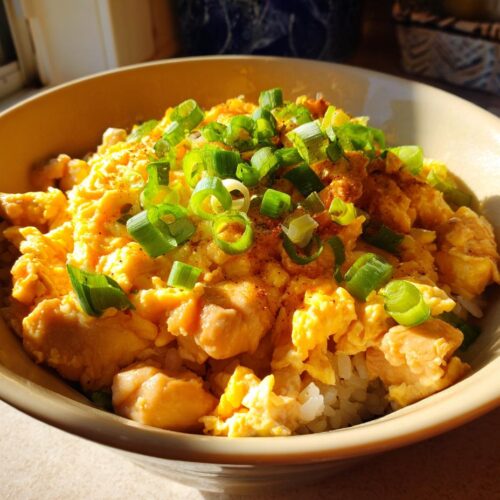
There’s something incredibly comforting about a warm bowl of Japanese Chicken Oyakodon. This delightful dish, combining tender chicken and fluffy eggs served over perfectly cooked rice, feels like a hug in a bowl. It’s simple to prepare, making it a perfect weeknight dinner that’s both satisfying and quick. In just 25 minutes, you can whip up this classic Japanese Chicken Oyakodon that’s sure to impress. Trust me, once you taste the rich flavors of the dashi broth melding with the savory chicken and creamy eggs, you’ll find yourself coming back for seconds!
Ingredients for Japanese Chicken Oyakodon
To make the most delicious Japanese Chicken Oyakodon, gather these fresh ingredients:
- For the Rice:
- 1 cup of Japanese short-grain rice
- For the Chicken Mixture:
- 300 g of chicken thighs, diced into bite-sized pieces
- 2 large eggs, beaten until smooth
- 1 tsp of soy sauce for that savory depth
- 1 tsp of mirin, which adds a lovely hint of sweetness
- 1 tsp of sugar to balance the flavors
- 1 cup of dashi broth, the heart of our dish
- 2 green onions, chopped for a fresh garnish
These ingredients come together beautifully to create a comforting, flavorful meal that’s sure to please! Don’t hesitate to adjust any seasonings to match your taste—it’s all about making this dish your own!
How to Prepare Japanese Chicken Oyakodon
Preparing Japanese Chicken Oyakodon is a breeze, and I promise you’ll enjoy every step of the process! Here’s how to bring this comforting dish to life, one step at a time.
Cooking the Rice
Start by rinsing 1 cup of Japanese short-grain rice under cold water until the water runs clear. This removes excess starch and ensures fluffy rice. Place the rice in your rice cooker with the appropriate amount of water (typically about 1.2 cups). Turn it on and let it do its magic! It usually takes about 15 minutes to cook perfectly.
Preparing the Chicken Mixture
While the rice is cooking, grab a frying pan and combine 1 cup of dashi broth, 1 teaspoon of soy sauce, 1 teaspoon of mirin, and 1 teaspoon of sugar. Stir this mixture together and bring it to a gentle simmer over medium heat. The aroma will start to fill your kitchen, and trust me, it’s heavenly! Let it simmer for about 5 minutes to meld those flavors beautifully.
Cooking the Chicken and Eggs
Next, add 300 grams of diced chicken thighs to the simmering mixture. Cook the chicken for about 5-7 minutes, or until it’s no longer pink and fully cooked through. Then, take your 2 beaten eggs and pour them evenly over the chicken. Cover the pan with a lid and let it cook for another 3-4 minutes. This helps the eggs set gently, creating that perfect, creamy texture that Oyakodon is known for!
Serving the Dish
Once everything is cooked, it’s time to serve! Fluff the rice with a fork and distribute it into two bowls. Spoon the chicken and egg mixture generously over the rice. Don’t forget to garnish with the chopped green onions for a fresh pop of color and flavor. Enjoy your delicious bowl of Japanese Chicken Oyakodon!
Nutritional Information for Japanese Chicken Oyakodon
Before diving into this delicious dish, it’s good to keep in mind that nutritional values can vary based on the specific ingredients and brands you use. Here’s a general breakdown for one serving of Japanese Chicken Oyakodon:
- Calories: 550
- Fat: 15 g
- Saturated Fat: 3 g
- Protein: 30 g
- Carbohydrates: 75 g
- Sugar: 5 g
- Sodium: 800 mg
- Potassium: 600 mg
- Fiber: 2 g
- Cholesterol: 300 mg
- Calcium: 50 mg
- Iron: 2 mg
- Vitamin A: 500 IU
- Vitamin C: 2 mg
This nutritious bowl packs a punch, bringing together protein, carbs, and essential vitamins! It’s not just tasty but also a well-rounded meal that can satisfy your cravings and nourish your body.
Why You’ll Love This Recipe
- Quick and Easy: With just 25 minutes from start to finish, Oyakodon is perfect for busy weeknights.
- Comforting Flavors: The combination of tender chicken, creamy eggs, and savory dashi broth creates a warm, satisfying dish that feels like a hug.
- One-Pan Wonder: Cooking everything in one frying pan means fewer dishes to wash—score!
- Customizable: Adjust the seasoning or add your favorite vegetables to make it truly your own.
- Family-Friendly: This delicious meal is sure to please both kids and adults alike!
Tips for Success with Japanese Chicken Oyakodon
To make your Japanese Chicken Oyakodon truly shine, here are some pro tips that I swear by! First, always use fresh ingredients—especially the chicken and eggs—because they make a world of difference in flavor and texture. Feel free to adjust the seasoning; if you like it a bit saltier, add a splash more soy sauce or mirin to suit your taste. Don’t rush the simmering process; letting the broth gently bubble allows those wonderful flavors to meld beautifully. Lastly, remember to garnish generously with green onions for that fresh crunch that complements the dish perfectly. Happy cooking!
Variations of Japanese Chicken Oyakodon
One of the best things about Japanese Chicken Oyakodon is how easily it can be adapted! If you’re looking to switch things up, consider using different proteins like tender beef or succulent shrimp for a unique twist. For a vegetarian option, tofu works beautifully—just make sure to press it first to remove excess moisture.
You can also get creative with vegetables! Adding mushrooms, bell peppers, or even spinach can introduce new textures and flavors, making the dish even more vibrant. Don’t forget to adjust the cooking time slightly to ensure everything is perfectly cooked. Enjoy experimenting!
Storage & Reheating Instructions
Leftover Japanese Chicken Oyakodon can be stored in an airtight container in the refrigerator for up to 3 days. If you want to keep it longer, consider freezing it! Just make sure to let it cool completely before transferring it to a freezer-safe container or bag. It should stay good for about a month in the freezer.
When you’re ready to enjoy your leftovers, simply reheat them on the stove over medium heat, adding a splash of water or dashi broth to keep it moist. Stir gently until heated through. You can also microwave it in short intervals, stirring in between, until warm. Enjoy your delicious Oyakodon again!
Share Your Experience
I’d love to hear how your Japanese Chicken Oyakodon turns out! Please leave a comment below to share your thoughts, tips, or any variations you tried. If you enjoyed this recipe, rate it and don’t forget to share your delicious creation on social media. Happy cooking!
For more delicious recipes, check out our Ratatouille French Vegetable Stew or High Protein Lentil Shepherd’s Pie. You can also find us on Pinterest for more inspiration!
Japanese Chicken Oyakodon
Equipment
- Frying pan
- Rice Cooker
Ingredients
For the Rice
- 1 cup Japanese short-grain rice
For the Chicken Mixture
- 300 g Chicken thighs, diced
- 2 large Eggs beaten
- 1 tsp Soy sauce
- 1 tsp Mirin
- 1 tsp Sugar
- 1 cup Dashi broth
- 2 green onions Chopped for garnish
Instructions
- Cook the rice according to the rice cooker instructions.
- In a frying pan, combine dashi broth, soy sauce, mirin, and sugar. Bring to a simmer.
- Add diced chicken to the pan and cook until no longer pink.
- Pour the beaten eggs over the chicken. Cover and cook until eggs are set.
- Serve the chicken and egg mixture over the cooked rice. Garnish with chopped green onions.