Prep Time: 30 minutes (active) | Inactive Time: 13 hours | Cook Time: 25 minutes | Total Time: 14 hours| Servings: 8 rolls or 2 loaves | Difficulty: Moderate
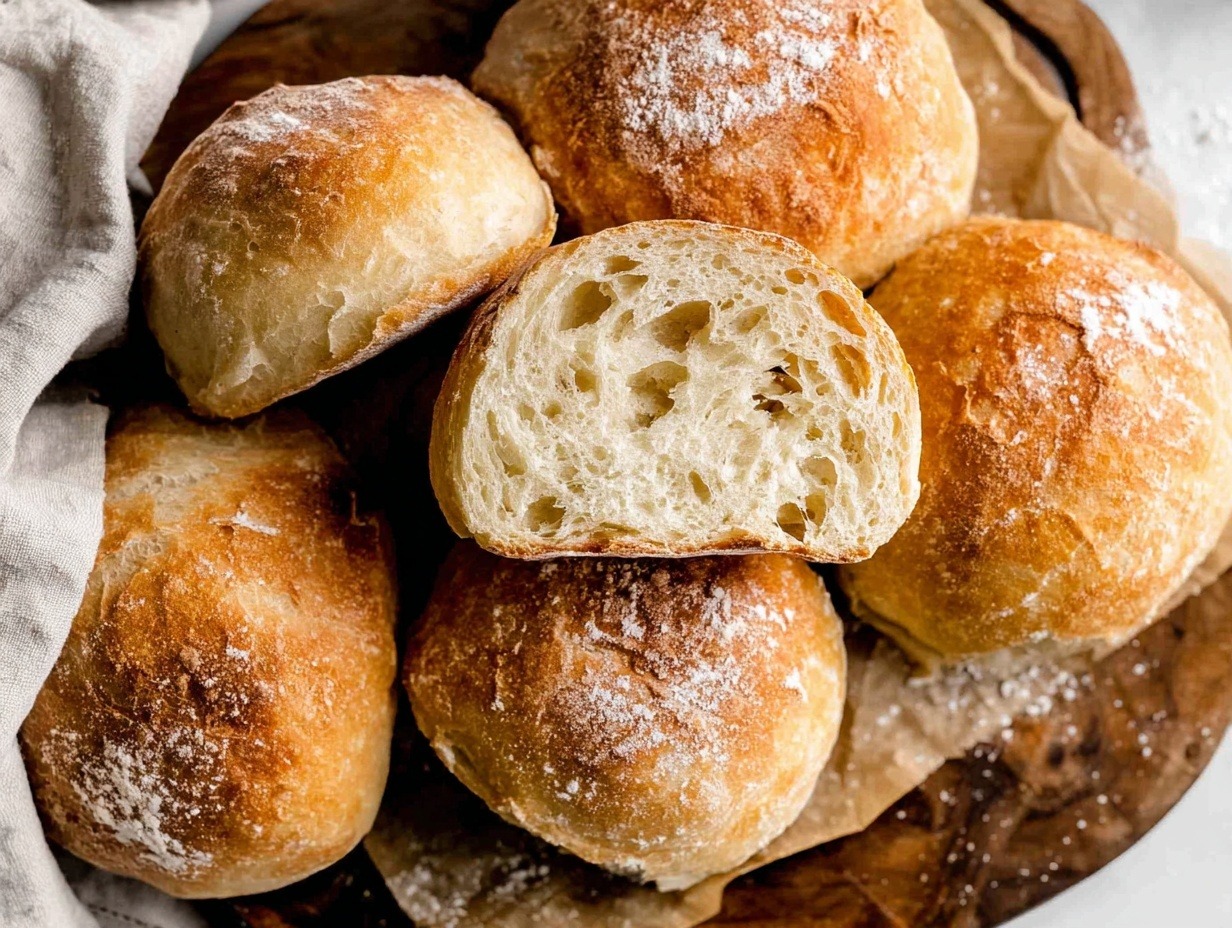
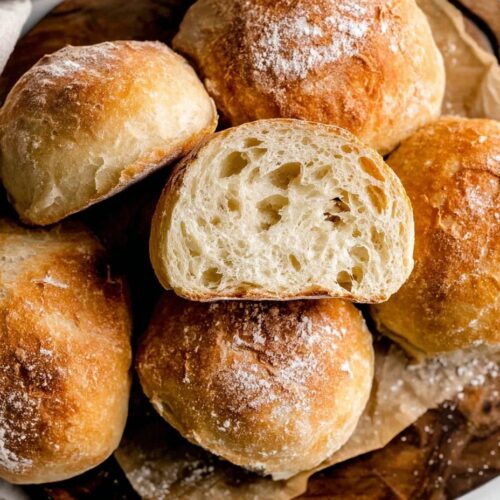
There’s nothing quite like the intoxicating aroma of fresh homemade ciabatta bread baking in your oven – that signature crusty exterior crackling as it cools, revealing an incredibly chewy interior filled with beautiful air pockets. This Classic Homemade Ciabatta Bread transforms just four simple ingredients into an artisanal masterpiece that rivals any Italian bakery. The secret lies in the overnight preferment that develops complex flavors and the gentle stretch-and-fold technique that creates that coveted open crumb structure. While this recipe spans two days, most of the time is hands-off resting, making it perfect for home bakers ready to elevate their bread game with authentic rustic Italian flavors.
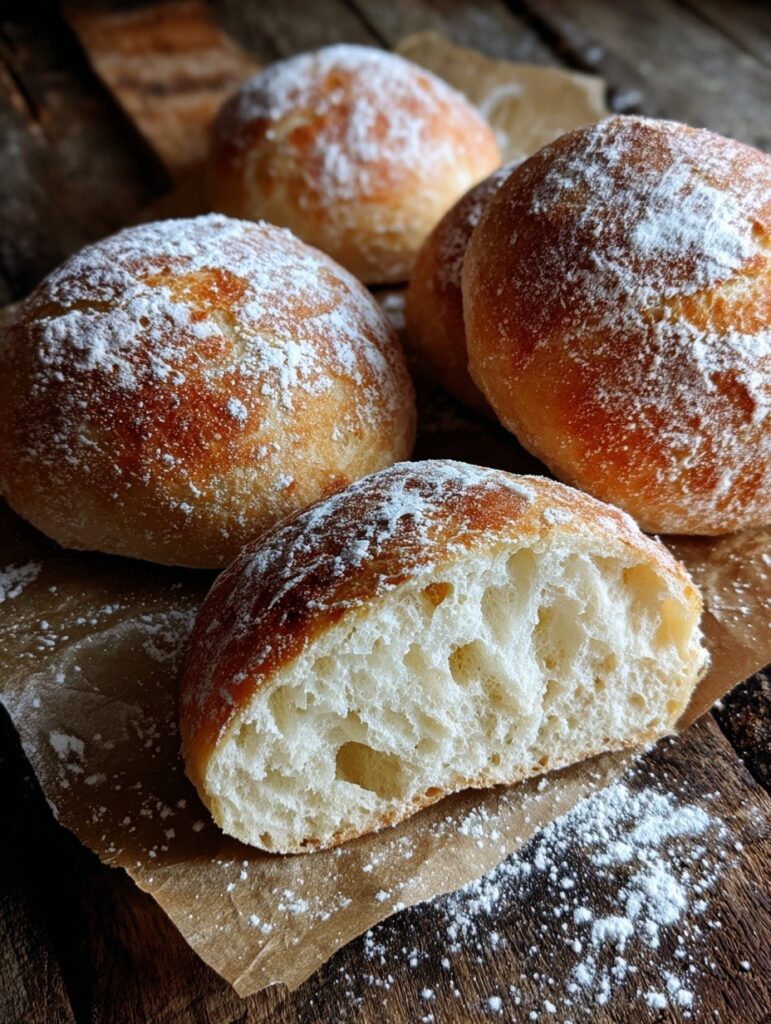
Table of Contents
Simple Ingredients for Authentic Italian Magic
For the Biga/Preferment (Day 1):
- 1 cup bread flour – King Arthur brand recommended for best gluten strength
- ⅛ teaspoon active-dry yeast – just a pinch for slow fermentation
- ½ cup room temperature water – about 70°F for optimal fermentation
For the Ciabatta Dough (Day 2):
- 1 teaspoon active-dry or instant yeast – helps accelerate final rise
- 1 cup warm water – 100-110°F to activate yeast quickly
- 2½ cups bread flour – plus extra for dusting and shaping
- 1½ teaspoons table salt – essential for flavor development and gluten strength
- Extra-virgin olive oil – for coating hands during stretch-and-fold process
Classic Homemade Ciabatta Bread
Equipment
- Large mixing bowls
- Kitchen scale (recommended)
- Bench scraper
- Silicone spatula
- Baking sheet
- Instant-read thermometer
- Metal roasting pan for steam
Ingredients
Biga/Preferment (Day 1)
- 1 cup bread flour King Arthur brand recommended for best gluten strength
- 1/8 teaspoon active-dry yeast just a pinch for slow fermentation
- 1/2 cup room temperature water about 70°F for optimal fermentation
Ciabatta Dough (Day 2)
- 1 teaspoon active-dry or instant yeast helps accelerate final rise
- 1 cup warm water 100-110°F to activate yeast quickly
- 2.5 cups bread flour plus extra for dusting and shaping
- 1.5 teaspoons table salt essential for flavor development and gluten strength
- as needed extra-virgin olive oil for coating hands during stretch-and-fold process
Instructions
- Day 1: In a large mixing bowl, whisk together bread flour and yeast until evenly distributed. Add room temperature water and mix with a silicone spatula until a shaggy, slightly sticky dough forms.
- Cover bowl tightly with plastic wrap and let rest at room temperature for 8-24 hours. The biga will develop bubbles and a slightly sour aroma.
- Day 2: In a separate large mixing bowl, whisk together yeast and warm water. Cover and let sit for 5-10 minutes until foamy and dissolved.
- Add the developed biga, bread flour, and salt to the yeast mixture. Using a silicone spatula, mix until all flour is moistened and dough appears uniform. The dough will be very wet and sticky.
- Cover bowl and let dough rest at room temperature for 30 minutes to allow gluten to begin developing naturally.
- Perform stretch-and-fold: With oiled hands, grab dough at 12 o’clock position, stretch upward, and fold over to 6 o’clock. Rotate bowl 90 degrees and repeat. Continue around bowl twice for 8 total folds.
- Cover and rest for 30 minutes. Repeat stretch-and-fold process three more times with 30-minute rests between each session.
- After fourth stretch-and-fold, cover and refrigerate for at least 1 hour or up to 24 hours for enhanced flavor development.
- Generously flour work surface. Using oiled hands, gently scrape dough onto floured surface and pat into a 10×7-inch rectangle. Cut into 8 rolls or 2 loaves.
- Transfer shaped pieces to parchment paper, spacing 2 inches apart. Lightly flour tops and cover with clean kitchen towel. Rest for 1 hour.
- Place baking sheet on center oven rack and preheat to 450°F for 1 hour. Fill metal pan with ice cubes.
- Lightly spray bread with water, slide parchment onto preheated baking sheet. Place ice pan on bottom rack and close door quickly. Bake 20-25 minutes until golden brown and internal temperature reaches 205-210°F.
- Cool for at least 45 minutes before slicing to ensure interior sets properly and prevents gumminess.
Notes
Step-by-Step Guide to Bakery-Perfect Ciabatta
Day 1: Create the Biga
- Make Preferment (5 minutes): In a large mixing bowl, whisk together bread flour and yeast until evenly distributed. Add room temperature water and mix with a silicone spatula until a shaggy, slightly sticky dough forms. (No dry flour should remain.)
- First Fermentation (8-24 hours): Cover bowl tightly with plastic wrap and let rest at room temperature for 8-24 hours. The biga will develop bubbles and a slightly sour aroma – this is perfect!
Day 2: Build the Dough
- Activate Fresh Yeast (10 minutes): In a separate large mixing bowl, whisk together yeast and warm water. Cover and let sit for 5-10 minutes until foamy and dissolved.
- Combine Ingredients (5 minutes): Add the developed biga, bread flour, and salt to the yeast mixture. Using a silicone spatula or wooden spoon, mix until all flour is moistened and dough appears uniform. (The dough will be very wet and sticky – this is correct!)
- First Rest (30 minutes): Cover bowl and let dough rest at room temperature to allow gluten to begin developing naturally.
- First Stretch and Fold (2 minutes): Lightly oil your hands or spatula. Visualizing a clock face on your dough, grab the dough at 12 o’clock and gently stretch upward, then fold over to 6 o’clock. Rotate bowl 90 degrees and repeat. Continue around the bowl twice for 8 total folds.
- Second Rest (30 minutes): Cover and rest again, allowing gluten bonds to strengthen further.
- Repeat Process (3 more times): Perform three more stretch-and-fold sessions with 30-minute rests between each. The dough will become noticeably smoother and stronger with each session.
- Cold Fermentation (1-24 hours): After the fourth stretch-and-fold, cover and refrigerate for at least 1 hour or up to 24 hours for enhanced flavor development.
- Shape the Bread (10 minutes): Generously flour your work surface. Using oiled hands, gently scrape dough onto floured surface and sprinkle flour on top. Pat into a 10×7-inch rectangle. For rolls: cut into 8 pieces. For loaves: cut in half to make 2 rectangles.
- Transfer and Final Proof (1 hour): Using a floured bench scraper, carefully transfer shaped pieces to parchment paper, spacing 2 inches apart. Lightly flour tops and cover with a clean kitchen towel. Rest for 1 hour while oven preheats.
- Prepare for Steam Baking (60 minutes): Place a baking sheet on the center oven rack and preheat to 450°F. This extended preheating ensures proper oven spring.
- Create Steam and Bake (25 minutes): Fill a metal pan with ice cubes. Lightly spray bread with water, then slide parchment onto the preheated baking sheet. Place ice pan on bottom rack and close door quickly to trap steam. Bake 20-25 minutes until golden brown and internal temperature reaches 205-210°F.
- Cool Completely (45 minutes): Allow bread to cool for at least 45 minutes before slicing to ensure the interior sets properly and prevents gumminess.
Recipe Tips & Variations
Looking for more bread adventures? Try our No-Oven Turkish Bread for a stovetop option, or explore our Cheesy Hash Brown Casserole Recipe for a perfect weekend brunch pairing.
Expert Tips for Success:
- Use a kitchen scale for most accurate measurements – weight is more reliable than volume
- Don’t skimp on flour when shaping – this dough is meant to be sticky
- Create maximum steam by adding extra ice cubes for that signature crispy crust
- Add herbs like rosemary and garlic during salt addition for flavored ciabatta
Serving Suggestions: Slice horizontally for Chopped Italian Sandwich Recipe bases, or serve alongside our Juicy Mississippi Pot Roast Recipe for bread dipping. Day-old ciabatta makes incredible homemade croutons too!
Conclusion
This Classic Homemade Ciabatta Bread proves that authentic artisan bread is absolutely achievable in your home kitchen. The two-day process develops incredible flavor complexity while the high-hydration dough creates those coveted air pockets and chewy texture. Store at room temperature for up to 5 days, or slice and freeze for up to 3 months.
Perfect for sandwich making, soup dipping, or simply enjoying with olive oil and sea salt. For more bread inspiration, check out our Greek Chicken Flatbread or Honey Bun Cake Recipe for sweet alternatives.
For more amazing bread recipes and baking tips, Follow me on Pinterest where I share daily inspiration for your home bakery adventures!
Frequently Asked Questions
Can I make ciabatta bread without a kitchen scale?
Yes, but measuring by weight gives the best results. If using measuring cups, be sure to spoon and level your flour to avoid adding too much, which can make the dough too dry. For more measuring tips, check our Honey Bun Cake Recipe guide.
Why is my ciabatta dough so sticky and hard to handle?
This is completely normal! Ciabatta uses a high-hydration dough (very wet) which creates the signature airy texture. Use plenty of flour when shaping and oiled hands during stretch-and-fold. The stickiness is what gives you those beautiful air pockets.
Can I speed up the ciabatta bread process?
While you can reduce some resting times, the overnight biga is essential for authentic flavor development. The slow fermentation is what makes this bread special. For quicker bread options, try our No-Oven Turkish Bread.
What’s the best way to store homemade ciabatta?
Store loosely covered at room temperature for up to 5 days. For longer storage, slice and freeze for up to 3 months. Day-old ciabatta makes excellent sandwiches like our Chopped Italian Sandwich Recipe.