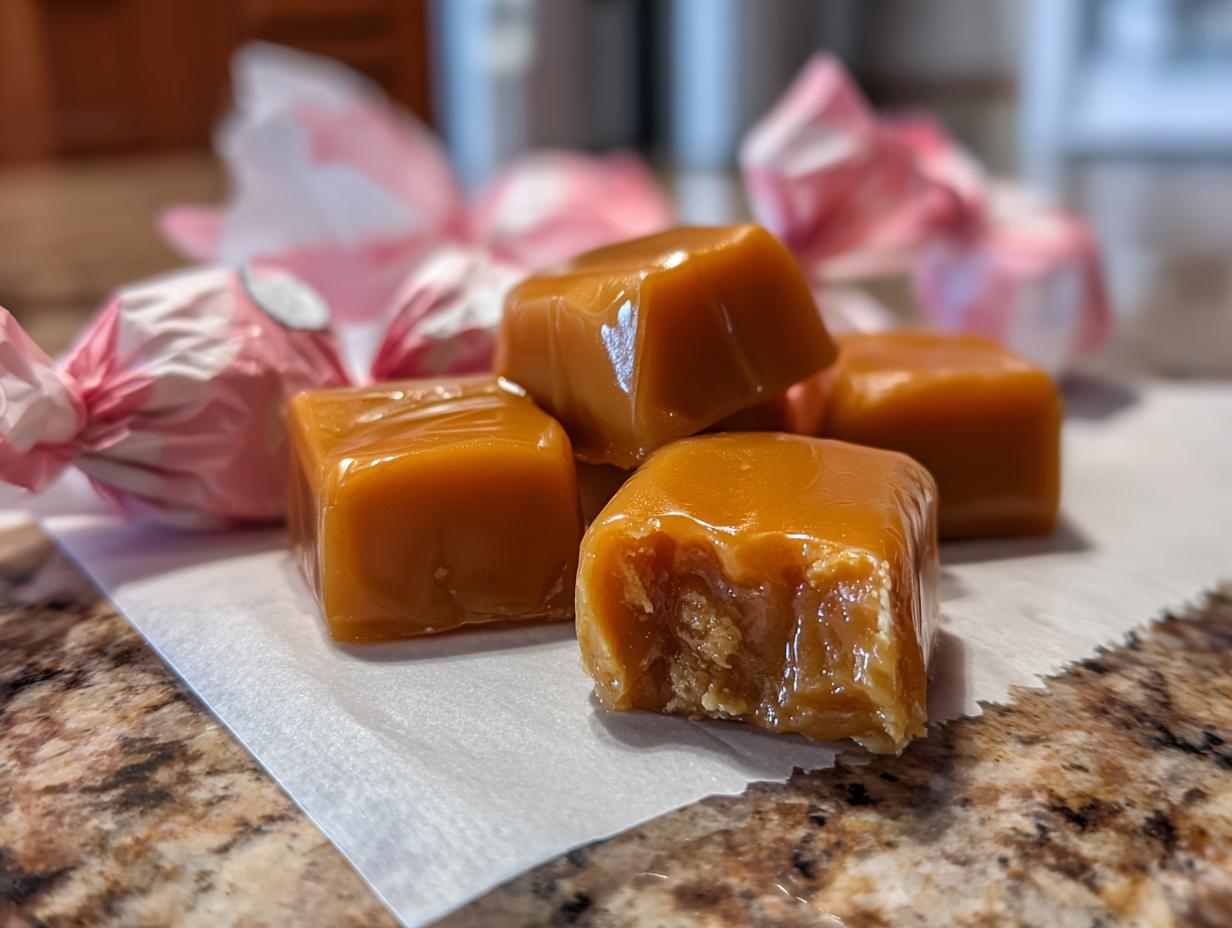
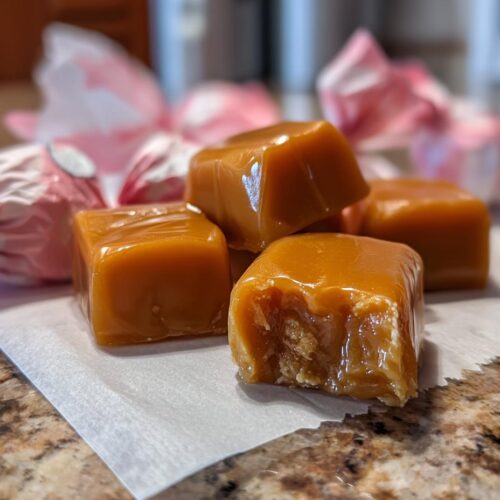
There’s something truly magical about making homemade candies during the holidays, isn’t there? The sweet smell of sugar and butter melting together fills the air, bringing back the warmth of family traditions. My absolute favorite holiday treat has to be these Christmas caramels wrapped. They’re soft, chewy, and just melt in your mouth! I remember the first time I made them for my family—I had just started cooking, and I was so nervous! But when I gifted them to my relatives, their eyes lit up with joy, and I knew I had created something special. These caramels are perfect for wrapping up and sharing, whether it’s for friends, teachers, or just to spread that holiday cheer. Trust me, nothing says “I care” quite like a box of these delightful homemade caramels. So, let’s dive into making your own batch and start spreading that festive spirit!
Ingredients List
To make these delightful Christmas caramels wrapped, you’ll need a few simple ingredients. Here’s what you’ll gather:
- 1 cup heavy cream – This rich cream adds a luxurious texture to your caramels.
- 1 cup granulated sugar – The sweetness that brings everything together!
- 1/4 cup unsalted butter (cut into pieces) – Make sure it’s at room temperature for easy melting.
- 1/2 cup light corn syrup – This helps prevent crystallization, ensuring your caramels stay smooth and chewy.
Gather these ingredients, and you’ll be well on your way to creating a batch of sweet holiday joy!
How to Prepare Christmas Caramels Wrapped
Making Christmas caramels wrapped is a delightful adventure that’s easier than you might think! Follow my step-by-step guide, and you’ll have a batch of soft, chewy caramels ready for gifting in no time.
Step 1: Combine Ingredients
Start by grabbing a medium saucepan and tossing in your heavy cream, granulated sugar, unsalted butter, and light corn syrup. It’s like a sweet symphony in a pot! Stir everything together over medium heat until the sugar completely dissolves. This step is super important—trust me, you don’t want any grainy bits in your caramels. Just keep stirring until the mixture is smooth and silky, and watch the magic begin!
Step 2: Cook the Mixture
Once your mixture is all blended, crank up the heat to bring it to a gentle boil. Now, this is where your candy thermometer comes into play! Attach it to the side of the saucepan, making sure the tip is submerged in the liquid but not touching the bottom. You’re aiming for a temperature of 245°F (118°C). This is the sweet spot for achieving that perfect chewy texture. Keep a close eye on it as it cooks, stirring occasionally to prevent sticking. It’ll take about 15-20 minutes, so be patient and resist the urge to wander off!
Step 3: Pour and Cool
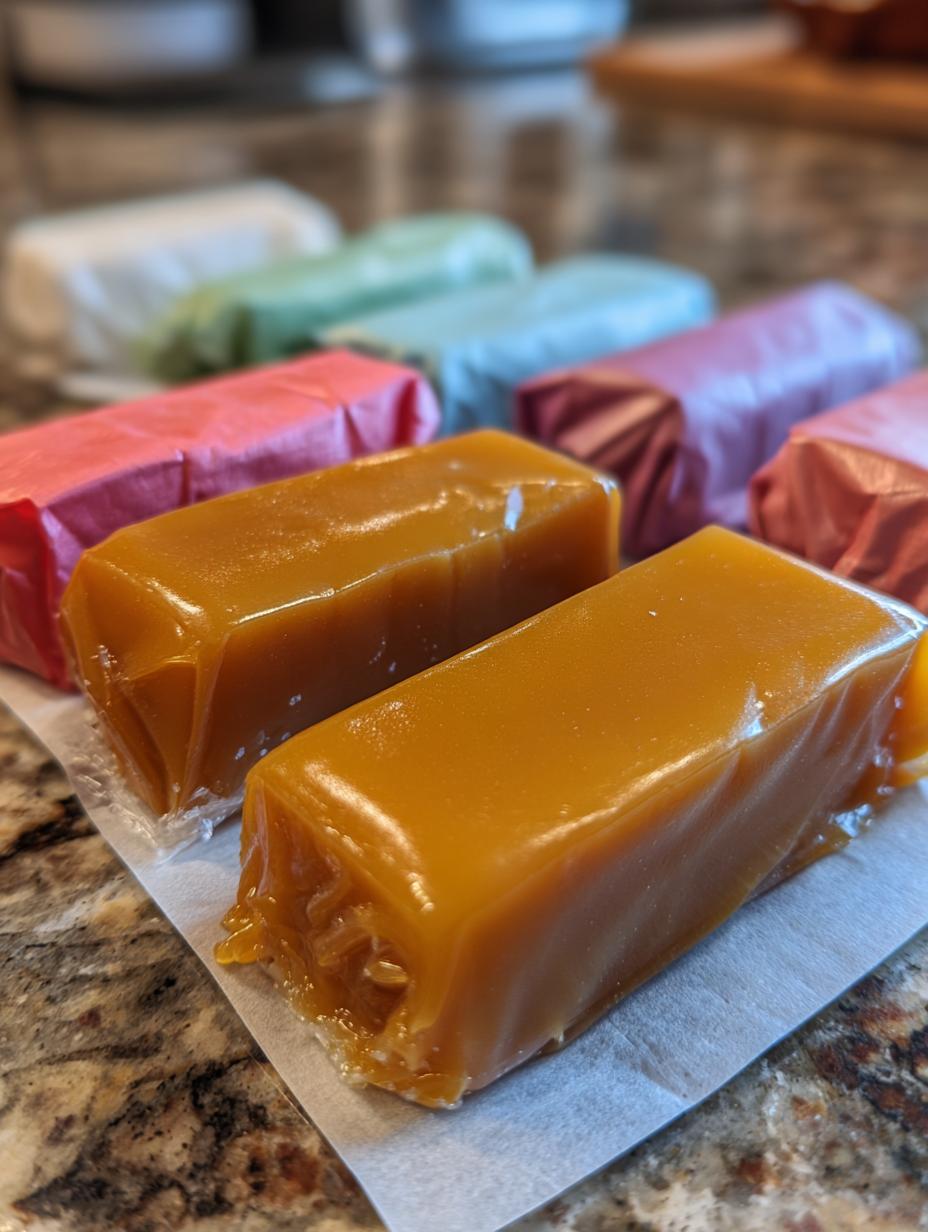
When your caramel mixture hits 245°F, it’s time to remove it from the heat. Carefully pour the bubbling mixture into a greased pan—make sure to use a spatula to get every last drop! Let it cool completely at room temperature; this can take a couple of hours. Once it’s set, you can cut the caramels into pieces. Wrapping them is super fun—use wax paper or cellophane for a festive touch. And voilà! You’ve got a delicious batch of homemade Christmas caramels ready to spread joy!
Nutritional Information
Now, let’s talk about the nutritional side of these delicious Christmas caramels wrapped. Keep in mind that nutrition can vary based on the specific brands of ingredients you use, but here’s a typical breakdown per piece:
- Calories: 150
- Fat: 7g
- Saturated Fat: 4g
- Cholesterol: 20mg
- Sodium: 50mg
- Carbohydrates: 20g
- Fiber: 0g
- Sugar: 15g
- Protein: 1g
- Potassium: 30mg
- Calcium: 20mg
- Iron: 0mg
- Vitamin A: 300 IU
- Vitamin C: 0mg
These values make it clear that while these caramels are a delightful treat, they’re also rich and indulgent. So, enjoy them in moderation and share them with loved ones to spread that holiday cheer!
Why You’ll Love This Recipe
- Homemade Delight: There’s nothing quite like the satisfaction of crafting your own candies from scratch. These caramels are made with love, bringing that personal touch to your holiday treats.
- Perfect for Gifting: Wrapped up in cheerful packaging, these Christmas caramels wrapped make thoughtful gifts for friends, family, and coworkers. They’re sure to spread smiles and sweeten anyone’s day!
- Easy to Make: With just a few simple ingredients and straightforward steps, you’ll find that making these caramels is a breeze. Even if you’re a beginner, you’ll feel like a pro in no time!
- Deliciously Chewy: The soft, chewy texture of these caramels is utterly irresistible. Once you take a bite, you’ll be hooked on the rich, buttery flavor that melts in your mouth.
- Customizable: Feel free to get creative! You can add flavors or toppings to personalize your caramels, making each batch uniquely yours.
Tips for Success
Getting your Christmas caramels wrapped just right is all about attention to detail and a few handy tips! Trust me, these little nuggets of wisdom will help you achieve caramel perfection.
Check Your Candy Thermometer
First things first, make sure your candy thermometer is accurate! I can’t stress this enough—an inaccurate thermometer can lead to either too-soft or too-hard caramels. If you’re unsure, test it in boiling water (it should read 212°F/100°C). This little step can save you from a caramel disaster!
Use Fresh Ingredients
Always opt for fresh ingredients. Using high-quality heavy cream and unsalted butter makes a world of difference in flavor. I promise, your taste buds will thank you! And remember, keep an eye on your corn syrup. If it’s been sitting in your pantry for ages, it might not perform as well.
Be Patient While Cooking
Cooking the caramel takes time, so don’t rush it! Allow the mixture to reach that perfect 245°F slowly. If you try to increase the heat too much, you risk burning the sugar, which can turn your caramels bitter. It’s all about patience and watching your candy thermometer like a hawk!
Proper Wrapping Techniques
When it’s time to wrap those lovely caramels, don’t skimp on the wrapping materials! Use wax paper or cellophane for a professional touch. Cut your wrapping paper into squares, place a caramel in the center, and twist the ends to secure it. This not only keeps them fresh but adds a festive flair, making them perfect gifts!
Store Properly
Finally, store your wrapped caramels in an airtight container at room temperature. If you keep them in a cool, dry place, they’ll stay soft and chewy for weeks. Just try not to eat them all at once—you’ll want to share these sweet treats with everyone!
Follow these tips, and you’ll be well on your way to making the best Christmas caramels wrapped for the holidays!
Variations
If you’re feeling adventurous and want to give your Christmas caramels wrapped a fun twist, you’re in luck! There are so many delicious ways to customize this classic recipe. Here are a few ideas to inspire your creativity:
Add Flavorings
One simple way to elevate your caramels is by adding flavorings. A splash of vanilla extract or a hint of almond extract can create a delightful twist. Just a teaspoon or two mixed in with the heavy cream can make a world of difference. You could even try infusing the cream with spices like cinnamon or nutmeg for a warm holiday vibe!
Sea Salt Caramels
For those who love that sweet and salty combination, sprinkle a little flaky sea salt on top of the caramels right after pouring them into the pan. This added touch enhances the flavor and gives your caramels a gourmet feel. Trust me, it’s a crowd-pleaser!
Chocolate Coating
If you’re a chocolate lover, consider dipping your cooled caramels in chocolate! Melt some dark, milk, or even white chocolate and coat each caramel for an indulgent treat. You can drizzle extra chocolate on top for an eye-catching design. Just let the chocolate set before wrapping them up.
Nuts and Add-Ins
Feeling nutty? Chop up some roasted nuts like pecans or almonds and fold them into the caramel mixture before pouring it into the pan. This adds crunch and a lovely depth to each bite. You could also mix in dried fruits like cranberries or apricots for a fruity surprise.
Holiday Colors
For a festive touch, consider adding a few drops of food coloring into the caramel mixture before it sets. You can create marbled patterns by swirling in different colors or keep it classic with red and green tones for the holidays.
These variations not only make your Christmas caramels wrapped unique but also allow you to share a little part of yourself with each batch. So, get creative and have fun experimenting in the kitchen!
Storage & Reheating Instructions
Once you’ve made your delightful Christmas caramels wrapped, it’s essential to store them properly to maintain their soft, chewy goodness. I recommend placing your wrapped caramels in an airtight container. This keeps them fresh and prevents them from drying out. Just make sure the container is in a cool, dry place—no one wants a sticky mess!
If you find that your caramels have gotten a bit too firm after a few days, don’t worry! You can easily soften them up again. Just pop them in the microwave for a few seconds at a time (about 5-10 seconds), checking frequently to avoid melting them completely. You want them to be warm and pliable but not gooey. If you prefer, you can also place them in a warm oven (around 200°F) for a couple of minutes. Just keep an eye on them to achieve that perfect soft texture!
With these storage tips, your Christmas caramels wrapped will stay delicious, making them the perfect treat to enjoy throughout the holiday season or to gift to loved ones. Happy caramel-making!
FAQ Section
Q1. Can I use half-and-half instead of heavy cream for these caramels?
While you can use half-and-half in a pinch, I highly recommend sticking with heavy cream. It gives your Christmas caramels wrapped that rich, buttery flavor and creamy texture that makes them so delightful. Trust me, it’s worth it!
Q2. What happens if I cook the caramel mixture too long?
If you overcook the mixture, your caramels might turn out hard and crunchy instead of soft and chewy. It’s crucial to monitor the temperature closely, aiming for that sweet 245°F (118°C). If you accidentally go too far, don’t despair—just remember for next time!
Q3. How long can I store these caramels?
When stored properly in an airtight container, your Christmas caramels wrapped can last for about two weeks at room temperature. Just make sure they’re kept in a cool, dry spot to maintain their softness. They rarely last that long in my house, though!
Q4. Can I double the recipe?
Absolutely! Doubling the recipe is a great way to make more of these delicious caramels. Just be aware that you’ll need a larger saucepan and possibly a longer cooking time, so keep an eye on that thermometer!
Q5. What type of candy thermometer should I use?
I recommend using a clip-on candy thermometer for the best accuracy. They attach to the side of your pot and give you a clear reading without needing to dip into the caramel. Just ensure it’s calibrated correctly before you start cooking!
Christmas Caramels Wrapped
Equipment
- Saucepan
- Candy thermometer
Ingredients
For the Caramel
- 1 cup heavy cream
- 1 cup granulated sugar
- 1/4 cup unsalted butter cut into pieces
- 1/2 cup light corn syrup
Instructions
- In a saucepan, combine heavy cream, sugar, butter, and corn syrup. Cook over medium heat, stirring until the sugar dissolves.
- Bring the mixture to a boil and use a candy thermometer to monitor the temperature. Cook until it reaches 245°F (118°C).
- Remove from heat and pour into a greased pan. Let cool completely before cutting into pieces and wrapping.