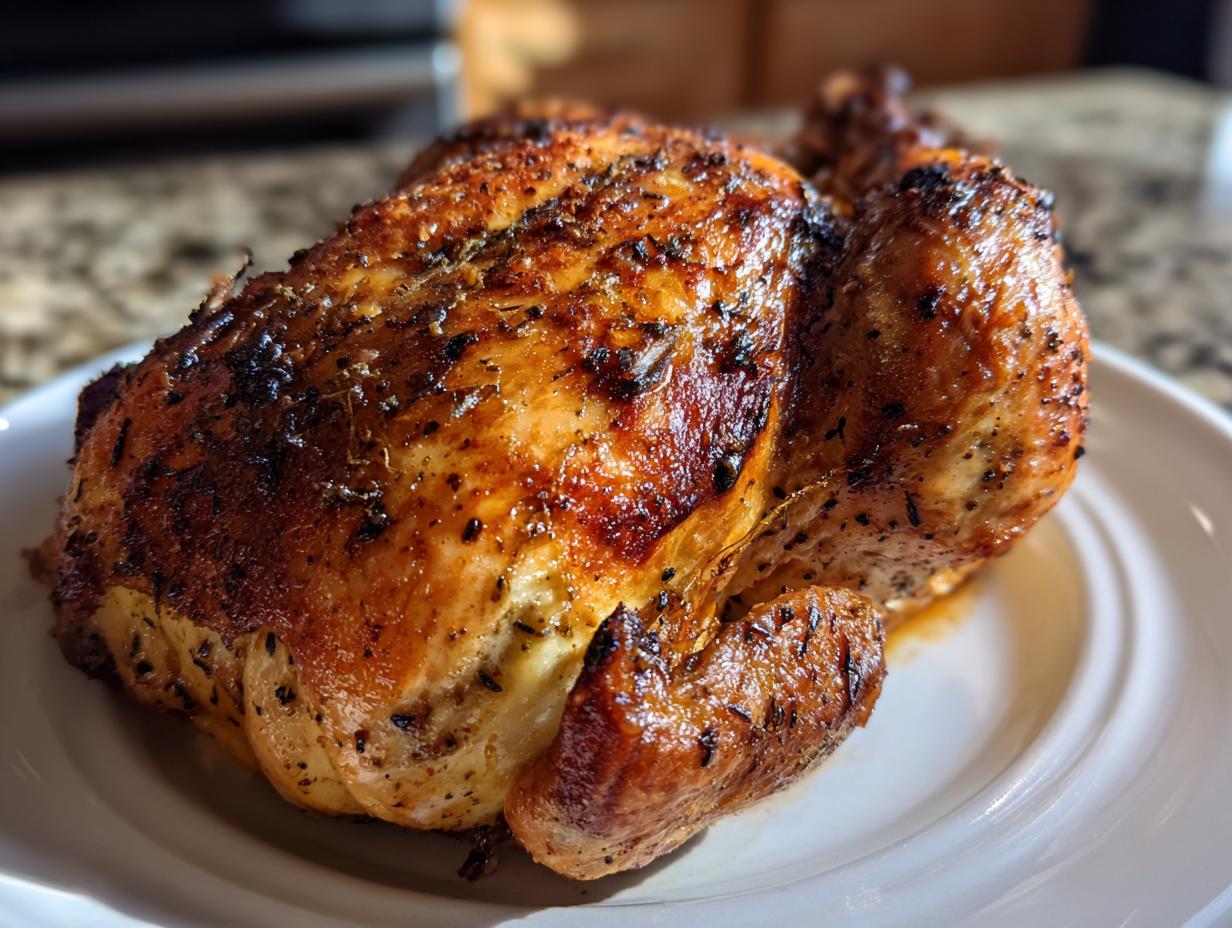
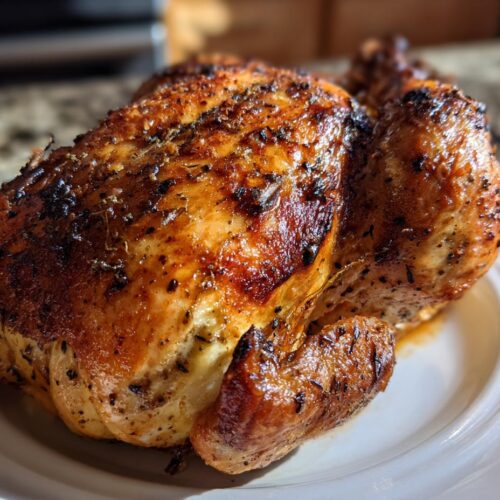
There’s something incredibly comforting about a perfectly cooked rotisserie-style chicken, isn’t there? This recipe for Basic Rotisserie-Style Chicken is my go-to when I want a meal that feels like a warm hug. It all starts with a whole chicken, seasoned to perfection, and cooked slowly until the skin is golden brown and crispy. The best part? You can whip it up with just a few simple ingredients and a rotisserie oven!
I remember the first time I tried making this chicken; I invited a few friends over for dinner. As the aroma filled my kitchen, their eyes widened in anticipation. When I pulled that juicy bird out of the oven, it was a show-stopper! We ended up devouring the whole thing, and the leftovers turned into delicious sandwiches and tacos the next day. It’s such a versatile dish that you can serve it with all sorts of sides, or use it in salads, wraps, or even as the star of a cozy taco night. Trust me, once you try this, you’ll find endless ways to enjoy it!
Ingredients List
Here’s everything you’ll need to make your Basic Rotisserie-Style Chicken. Gather these ingredients and let’s get started!
- 1 whole chicken (about 4-5 pounds)
- 2 tbsp olive oil (for coating the chicken)
- 1 tbsp salt (to taste)
- 1 tbsp black pepper (to taste)
- 2 tsp paprika (for flavor)
- 1 tsp garlic powder (for flavor)
Make sure your chicken is thawed if you’ve frozen it, and don’t forget to wash your hands after handling raw chicken! It’s super important for food safety. Now that you have everything ready, we can move on to the fun part—cooking!
How to Prepare Basic Rotisserie-Style Chicken
Now that you’ve gathered your ingredients, let’s dive into the steps for making this amazing Basic Rotisserie-Style Chicken. You’ll see just how easy and rewarding it is to create a delicious meal that everyone will love!
Preheat Your Rotisserie Oven
The first step is crucial: preheating your rotisserie oven. Follow your manufacturer’s instructions for the best results. Usually, you’ll want to set it to a temperature around 375°F. Preheating helps ensure that the chicken cooks evenly and achieves that perfect, crispy skin. While it heats up, you can get everything else ready!
Prepare the Seasoning Mixture
Next, it’s time to make that flavorful seasoning mix. In a bowl, combine the olive oil, salt, black pepper, paprika, and garlic powder. Give it a good stir until everything’s well blended. This seasoning mixture is what brings your chicken to life, so don’t skimp on the mixing! The olive oil helps the spices stick to the chicken and adds some moisture during cooking, too. Trust me; you’ll want that even distribution of flavors!
Coat the Chicken
Now, let’s get our hands a little messy (but in the best way!). Take your whole chicken and place it on a clean surface. Using your hands, rub the seasoning mixture all over the chicken, making sure to get into every nook and cranny. Don’t forget the cavity—it needs love too! This step is where you really infuse flavor into the meat. You want every bite to be bursting with that deliciousness!
Cook the Chicken
Once your chicken is nicely coated, it’s time to place it on the rotisserie spit. Make sure to secure it well, as you don’t want any surprises while it’s cooking! Insert the spit into the rotisserie oven and set your timer for about 90 minutes. The key here is to keep an eye on the internal temperature. You’re aiming for a juicy 165°F. A meat thermometer is your best friend here—insert it into the thickest part of the thigh for the most accurate reading!
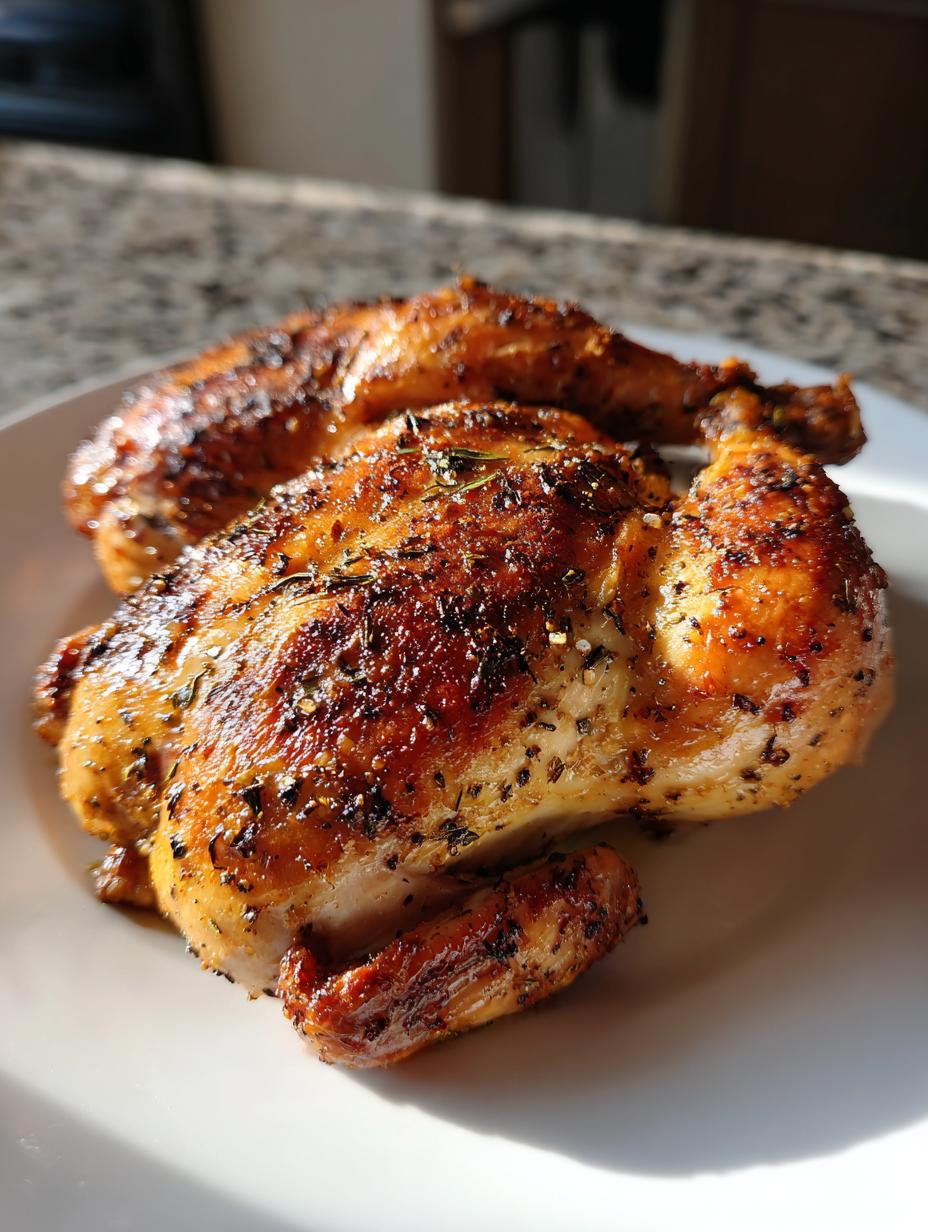
Rest and Carve the Chicken
After the chicken reaches that perfect temperature, carefully remove it from the spit (watch out, it’ll be hot!). Let it rest for about 10 minutes before carving. This resting period is essential for juicy chicken, as it allows the juices to redistribute throughout the meat. Once it’s had a chance to relax, grab your sharp knife and carve away! You’ll be rewarded with tender, flavorful slices that are perfect for your meal.
Why You’ll Love This Recipe
Let me tell you, this Basic Rotisserie-Style Chicken is a game-changer in the kitchen! Here are just a few reasons why you’ll fall head over heels for this recipe:
- Quick Preparation: With just a 15-minute prep time, you can have an incredible meal ready to go without spending all day in the kitchen!
- Flavorful Results: The seasoning blend creates a mouthwatering flavor that seeps into every bite, making your taste buds dance with joy.
- Versatility: This chicken shines in so many ways! Serve it as the main dish, use it in salads, sandwiches, or tacos, or even toss it into a hearty soup.
- Healthy Protein Source: Packed with protein, this chicken is a nutritious option that fits perfectly into a balanced diet.
- Impressive Presentation: There’s something special about serving a beautifully cooked rotisserie chicken at the dinner table! It’s sure to wow your family and friends.
Honestly, once you whip this up, you’ll be reaching for this recipe again and again. It’s a reliable staple that brings comfort and satisfaction to any meal!
Tips for Success
To make sure your Basic Rotisserie-Style Chicken turns out perfectly every time, I’ve got a few tried-and-true tips that I swear by! These little nuggets of wisdom will elevate your chicken game and ensure you impress everyone at the dinner table.
Use a Meat Thermometer
This is my absolute favorite tip! A meat thermometer is essential for achieving that juicy, perfectly cooked chicken. Insert the thermometer into the thickest part of the thigh, avoiding the bone, and look for an internal temperature of 165°F. Trust me, you don’t want to guess on doneness—this little tool takes the guesswork out of the equation!
Adjust Seasonings to Suit Your Taste
Feel free to play around with the seasoning mix! If you love a bit of heat, throw in some cayenne pepper or chili powder. If you’re a fan of herbs, consider adding dried thyme or rosemary for an aromatic twist. The beauty of this recipe is its flexibility, so don’t be afraid to make it your own!
Let It Rest
I can’t stress this enough: allow your chicken to rest after cooking! This step is crucial for keeping all those flavorful juices inside. If you cut into it right away, those juices will spill out, leaving you with dry meat. So, be patient and let it rest for at least 10 minutes before carving.
Experiment with Cooking Time
Every chicken is a little different, and factors like size and the specific rotisserie oven can affect cooking time. Keep an eye on your chicken as it cooks, adjusting the time as necessary. If you have a larger bird, it might need closer to 100 minutes. Just remember, the thermometer will be your best friend here!
Clean Up as You Go
Cooking can get messy, especially when you’re dealing with raw chicken. To make your life easier, clean up as you go. Have a bowl ready for any scraps, and wash your hands frequently. This not only keeps your kitchen tidy but also helps prevent cross-contamination.
With these tips in your back pocket, you’re all set to create a mouthwatering Basic Rotisserie-Style Chicken that’s sure to impress! Happy cooking!
Variations
One of the best things about Basic Rotisserie-Style Chicken is its versatility! Once you master the basic recipe, you can easily switch things up to keep your meals exciting. Here are some fun ideas to inspire your next chicken adventure:
Spice It Up!
If you’re in the mood for something a little different, try experimenting with various spice blends. For a Mediterranean twist, use a mix of oregano, lemon zest, and cumin. If you’re feeling adventurous, a blend of chili powder, lime juice, and cilantro can give your chicken a zesty kick that’s perfect for tacos or burrito bowls.
Herb-Infused Chicken
Fresh herbs can elevate your chicken to a whole new level! Consider adding rosemary, thyme, or sage to your seasoning mixture. Simply chop up a handful of your favorite herbs and mix them in with the olive oil. This not only adds flavor but also creates a beautiful aroma as the chicken cooks!
Sweet and Savory
For those who love a sweet touch, try incorporating a bit of honey or maple syrup into your olive oil mixture. This adds a lovely caramelized glaze to your chicken as it cooks, creating a delightful contrast with the savory spices. You can even throw in some crushed garlic for an added depth of flavor!
Serving Suggestions
Now that you’ve got your delicious rotisserie chicken ready, let’s talk about how to serve it! Here are a few ideas to get you started:
- Salads: Toss shredded chicken onto a bed of greens with your favorite veggies, nuts, and dressing for a quick and healthy meal.
- Sandwiches: Slice the chicken and pile it onto crusty bread with avocado, lettuce, and a smear of garlic aioli for a satisfying sandwich.
- Tacos: Shred the chicken and serve it in warm tortillas topped with salsa, guacamole, and fresh cilantro for a fun taco night.
- Stir-Fries: Use leftover chicken in a quick stir-fry with colorful veggies and a savory sauce for a dinner that comes together in no time.
However you choose to enjoy your Basic Rotisserie-Style Chicken, I promise it’ll be a hit at your dinner table. Get creative and have fun with it!
Nutritional Information Section
Let’s talk numbers! Here’s a quick breakdown of the typical nutritional values for your Basic Rotisserie-Style Chicken. Keep in mind that these values are estimates based on the ingredients used, so they may vary slightly depending on the specific chicken and seasonings you choose.
- Calories: 350
- Protein: 45g
- Fat: 18g
- Saturated Fat: 4g
- Cholesterol: 120mg
- Sodium: 600mg
- Potassium: 480mg
- Carbohydrates: 0g
- Fiber: 0g
- Sugar: 0g
This chicken is not just delicious; it’s also a fantastic source of lean protein! Perfect for a nutritious meal that satisfies your cravings without compromising your healthy eating goals. Enjoy your cooking adventure, and feel good about what you’re serving at the table!
Serving Suggestions
Now that you’ve got your delicious rotisserie chicken ready, let’s talk about how to serve it! Here are a few ideas to get you started:
- Salads: Toss shredded chicken onto a bed of mixed greens, cherry tomatoes, and crunchy cucumbers. Drizzle with a zesty vinaigrette or your favorite dressing for a quick, refreshing meal.
- Sandwiches: Slice the chicken and pile it onto crusty bread or a soft roll, adding slices of avocado, crisp lettuce, and a smear of garlic aioli for a satisfying sandwich that’s hard to resist.
- Tacos: Shred the chicken and serve it in warm corn or flour tortillas. Top with fresh salsa, guacamole, and a sprinkle of cilantro for a fun taco night that your family will love.
- Stir-Fries: Use leftover chicken in a quick stir-fry with colorful bell peppers, snap peas, and a savory sauce. It’s an easy way to whip up a dinner that comes together in no time!
- Rice Bowls: Serve slices of chicken over a bowl of fluffy rice, topped with steamed vegetables and a drizzle of soy sauce or teriyaki glaze for a comforting meal.
However you choose to enjoy your Basic Rotisserie-Style Chicken, I promise it’ll be a hit at your dinner table. Get creative and have fun with it! The possibilities are endless, and each serving can be a little different, keeping your meals exciting.
FAQ Section
Got questions? No worries! Here are some common ones I hear about making and enjoying Basic Rotisserie-Style Chicken. Let’s dive in!
How should I store leftover rotisserie chicken?
To store any leftover chicken, let it cool completely before wrapping it in plastic wrap or aluminum foil. You can also place it in an airtight container. It’ll stay fresh in the refrigerator for about 3-4 days, so you can enjoy those tasty leftovers in salads or sandwiches!
Can I freeze rotisserie chicken?
Absolutely! If you’ve got more chicken than you can eat in a few days, freezing is a great option. Just make sure to remove the meat from the bones, then place it in a freezer-safe container or bag. It can last in the freezer for about 4-6 months. When you’re ready to enjoy it again, just thaw in the refrigerator overnight before reheating!
What’s the best way to reheat leftover chicken?
Reheating leftover rotisserie chicken can be done in several ways! For the juiciest results, I recommend using the oven. Preheat it to 350°F, place the chicken in a baking dish, and cover it with foil to keep the moisture in. Heat for about 20-30 minutes or until warmed through. You can also use the microwave, but be careful not to overcook it, as that can dry it out.
Can I use this recipe for other types of meat?
Yes, you can! While this recipe is perfect for chicken, you can adapt it for other meats like pork or even a small turkey. Just adjust the cooking times accordingly based on the type and size of the meat. Always use a meat thermometer to ensure it’s cooked to the right temperature!
What are some creative serving ideas for leftover chicken?
There are so many ways to use leftover chicken! You can shred it for tacos, toss it in a salad, or mix it into a creamy pasta dish. Another favorite of mine is to make a chicken curry by adding it to a pot with coconut milk and your favorite spices. The options are endless, so get creative and have fun with it!
Basic Rotisserie-Style Chicken (Use 4 Ways)
Equipment
- Rotisserie oven
- Meat thermometer
Ingredients
For the Chicken
- 1 whole chicken about 4-5 pounds
For the Seasoning
- 2 tbsp olive oil for coating
- 1 tbsp salt to taste
- 1 tbsp black pepper to taste
- 2 tsp paprika for flavor
- 1 tsp garlic powder for flavor
Instructions
- Preheat your rotisserie oven according to the manufacturer’s instructions.
- In a bowl, mix olive oil, salt, black pepper, paprika, and garlic powder.
- Rub the seasoning mixture all over the chicken, ensuring it is evenly coated.
- Place the chicken on the rotisserie spit and secure it.
- Cook the chicken for about 90 minutes or until the internal temperature reaches 165°F.
- Remove the chicken from the rotisserie and let it rest for 10 minutes before carving.