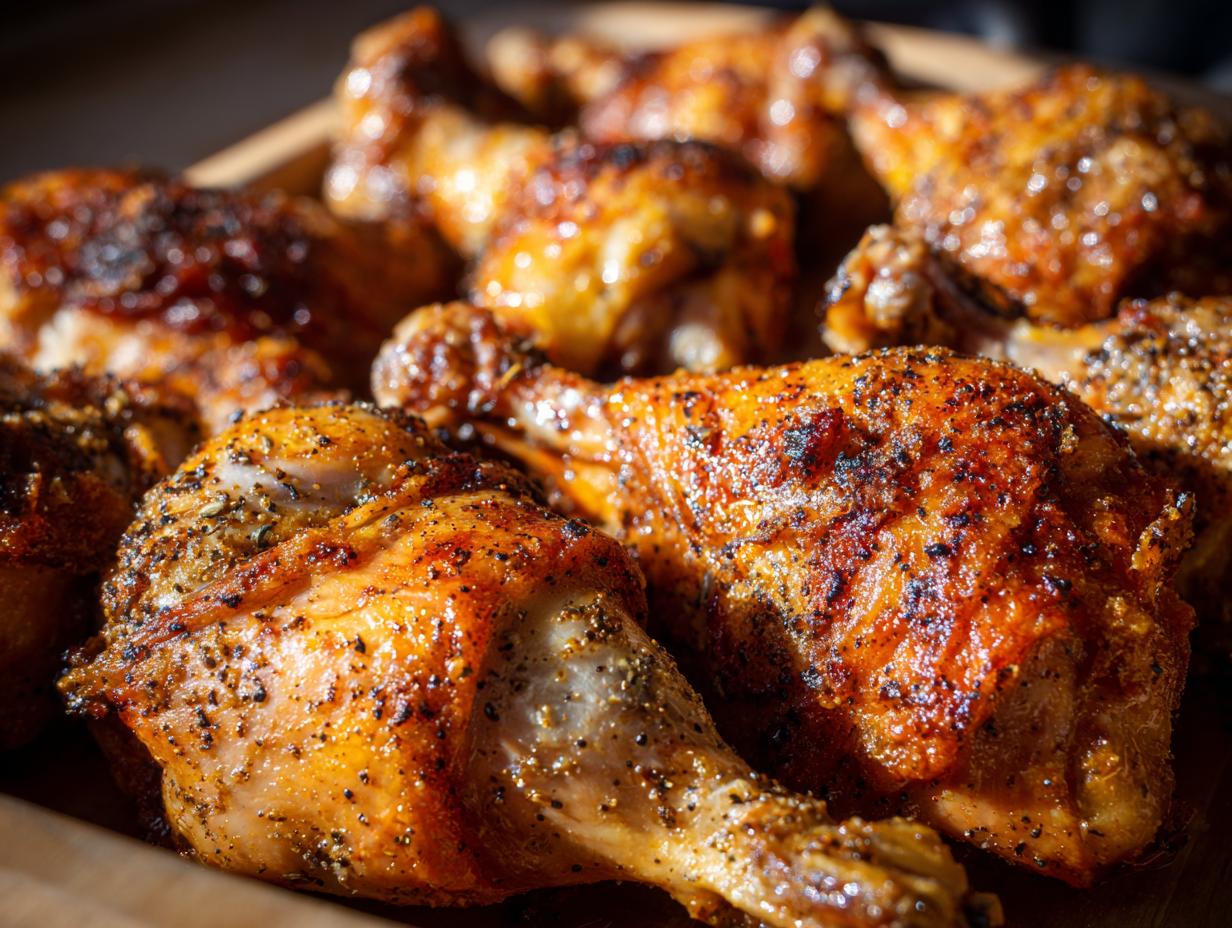
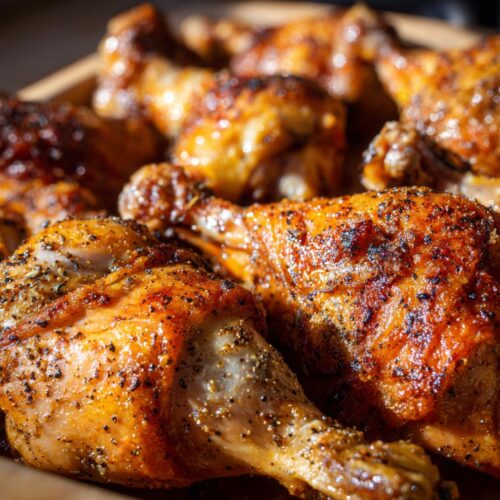
There’s something absolutely magical about Baked Duck Legs. The moment you take them out of the oven, the aroma fills your kitchen and promises a meal that’s juicy, tender, and downright delectable. I remember the first time I made duck—what a delightful adventure! It was a chilly evening, and I had friends over for dinner. I wanted to impress them with something a bit different, and boy, did these legs do the trick! Each bite is packed with flavor and a wonderful richness that makes it the star of the dinner table.
This recipe is so straightforward that you’ll wonder why you haven’t cooked duck more often. With just a handful of ingredients, you’ll create a dish that’s not only protein-rich, boasting 32g of protein per serving, but also something that feels gourmet without all the fuss. Trust me, once you’ve tried these baked duck legs, they’ll become a favorite in your dinner rotation. Ready to dive in? Let’s go!
Ingredients for Baked Duck Legs
To create these delicious baked duck legs, you’ll need just a few quality ingredients that come together beautifully. Here’s what you’ll need:
- 4 duck legs (make sure they are skin-on for that crispy, flavorful finish! The skin is key to locking in moisture and flavor while baking.)
- 2 teaspoons salt (this will help enhance the natural flavor of the duck. Feel free to adjust based on your preference!)
- 1 teaspoon black pepper (freshly cracked if you can—this adds a wonderful depth to the dish.)
- 1 teaspoon garlic powder (this gives a lovely aromatic touch that pairs perfectly with the richness of the duck.)
That’s it! Simple, right? Gather these ingredients, and you’re already on your way to a wonderfully satisfying dinner. Let’s get cooking!
How to Prepare Baked Duck Legs
Getting these baked duck legs just right is easier than you might think! Follow these simple steps, and you’ll be rewarded with a delightful meal.
Step 1: Preheat the Oven
First things first, preheat your oven to 375°F (190°C). Preheating is essential because it ensures that your duck legs start cooking evenly right from the get-go. You want that crispy skin, and a hot oven is key!
Step 2: Season the Duck Legs
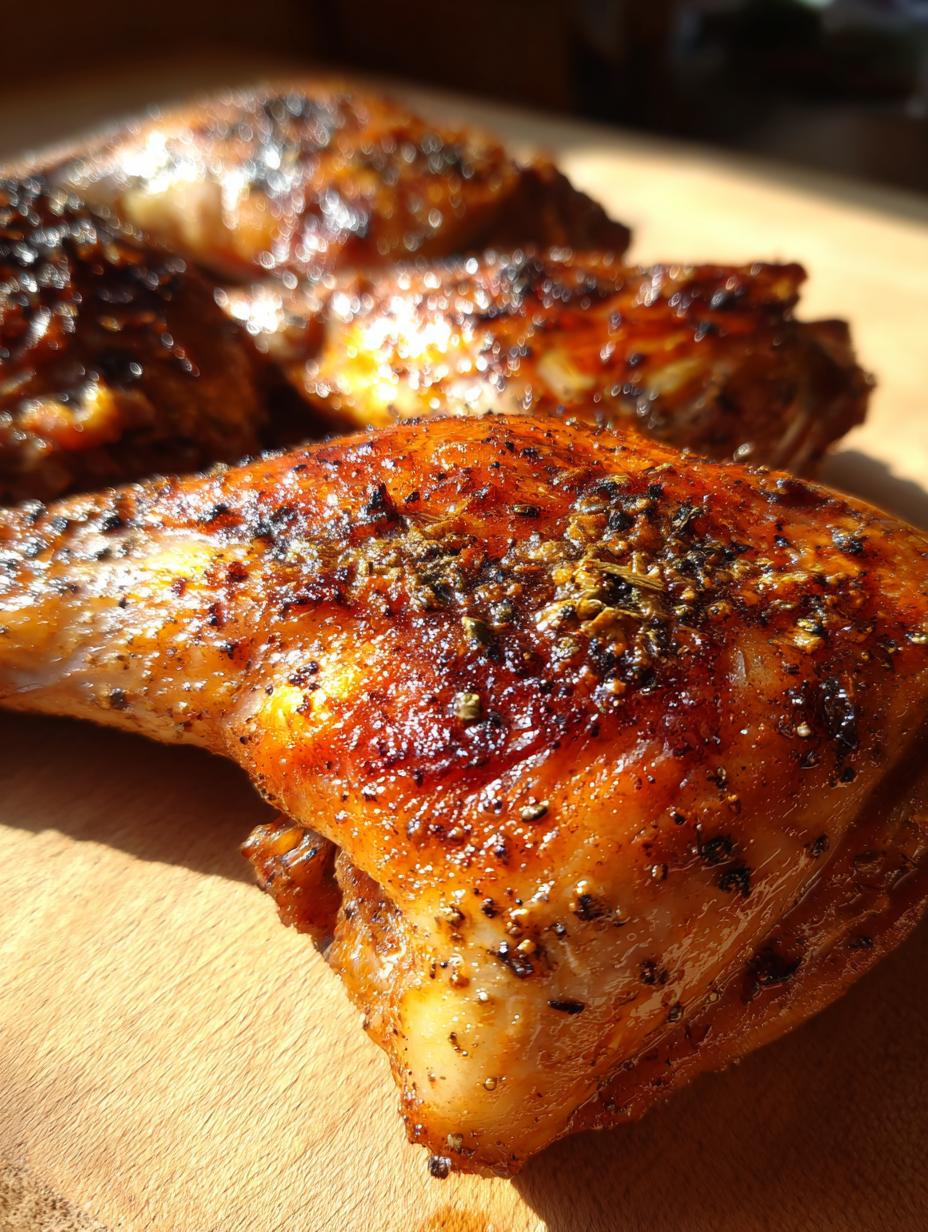
Now, let’s get those duck legs seasoned! Sprinkle the salt, black pepper, and garlic powder evenly over the skin of the duck legs. Don’t be shy—make sure every nook and cranny gets a little love! I like to use my hands to gently massage the seasoning in; it really helps to enhance the flavor.
Step 3: Bake the Duck Legs
Next, place the seasoned duck legs in a baking dish, skin-side up. This positioning allows that glorious fat to render out, making the skin wonderfully crispy. Pop them in the oven and let them bake for about 60 minutes. The aroma will start filling your kitchen, and trust me, it’s worth the wait!
Step 4: Let the Duck Legs Rest
Once they’re done baking, resist the urge to dive right in. Let the duck legs rest for about 5 minutes before serving. This resting period is crucial—it allows the juices to redistribute throughout the meat, keeping it moist and flavorful. You’ll be amazed at the difference it makes!
Why You’ll Love This Recipe
- Flavor Explosion: The combination of seasonings brings out the natural richness of the duck, creating a dish that’s bursting with flavor.
- Easy Preparation: With just a few simple steps, you can whip up a gourmet meal without the hassle. Simply season, bake, and enjoy!
- Protein-Packed: Each serving boasts an impressive 32g of protein, making it a hearty and satisfying option for dinner.
- Perfect for Dinner Parties: Impress your guests with a dish that looks and tastes like it came from a fancy restaurant, but is easy enough to make at home.
- Versatile Pairings: These baked duck legs can be served with a variety of sides, from roasted vegetables to creamy mashed potatoes, making them adaptable to any palate.
Equipment Needed
Before you start whipping up these baked duck legs, let’s make sure you have the right tools at your fingertips. Here’s what you’ll need:
- Oven: This is where the magic happens! Preheating your oven to 375°F (190°C) is essential for achieving that perfect crispy skin and tender meat.
- Baking Dish: A sturdy baking dish is key for holding your duck legs comfortably. I recommend using a dish that’s large enough to give them plenty of space. You don’t want them to be too cramped; that’s what keeps the skin from getting crispy!
That’s all you need, just two essential pieces of equipment, and you’re ready to go! With these in hand, you’re well on your way to creating a delightful dinner that will have everyone asking for seconds.
Tips for Success
When it comes to making the most delicious baked duck legs, a few pro tips can ensure your dish turns out perfectly every time. Here are some of my favorite tricks to avoid common pitfalls:
- Choose Quality Duck Legs: Opt for fresh, high-quality duck legs with skin-on. The better the quality, the more flavorful your dish will be. Don’t skimp here!
- Pat the Skin Dry: For the crispiest skin, pat the duck legs dry with paper towels before seasoning. Removing excess moisture helps achieve that coveted crispiness.
- Use a Meat Thermometer: If you’re unsure about doneness, a meat thermometer can be a lifesaver! Aim for an internal temperature of 165°F (74°C) for perfectly cooked duck.
- Don’t Rush the Resting: I can’t stress this enough—allowing the duck legs to rest for at least 5 minutes is crucial. This step really helps keep the meat juicy!
- Experiment with Seasonings: Feel free to get creative with your seasoning! Adding herbs like thyme or rosemary can elevate the flavor profile even more. Just remember not to overpower the natural taste of the duck.
- Save the Duck Fat: After baking, you’ll have rendered duck fat in the dish. Don’t throw it away! It’s perfect for roasting vegetables or frying potatoes, adding incredible flavor to your meals.
With these tips in mind, you’ll be on your way to mastering the art of baked duck legs. Enjoy the process, and happy cooking!
Nutritional Information
When you’re whipping up these baked duck legs, it’s good to know what you’re putting on your plate! Here’s an estimated breakdown of the nutritional values per serving (1 duck leg):
- Calories: 350
- Protein: 32g
- Fat: 25g
- Saturated Fat: 9g
- Carbohydrates: 0g
- Cholesterol: 90mg
- Sodium: 800mg
- Potassium: 350mg
- Iron: 2mg
These values are estimates, of course, and can vary based on the specific ingredients you use and how you prepare your duck legs. But rest assured, with 32g of protein, this dish is a hearty option that will keep you satisfied long after dinner!
FAQ About Baked Duck Legs
Can I use frozen duck legs?
Absolutely! You can use frozen duck legs for this recipe, but you’ll want to thaw them first for the best results. The easiest way to do this is to place them in the refrigerator overnight. If you’re short on time, you can also use the cold water method: just seal the duck legs in a plastic bag and submerge them in cold water for a couple of hours. This way, they’ll be ready for seasoning and baking without compromising their texture.
What sides pair well with Baked Duck Legs?
Oh, the possibilities are endless! Baked duck legs are so rich and flavorful, they go wonderfully with a variety of sides. I love serving them with roasted vegetables or a creamy garlic mashed potato—both options complement the savory taste of the duck beautifully. A fresh green salad with a tangy vinaigrette can add a nice contrast as well. Honestly, you can’t go wrong with sautéed greens or even a wild rice pilaf for a bit of texture. Just think about what you enjoy, and let those flavors come together!
How do I store leftovers?
If you happen to have any leftovers (which is rare at my house!), storing them properly is key. Allow the baked duck legs to cool completely before placing them in an airtight container. You can keep them in the refrigerator for up to 3 days. To reheat, I recommend using the oven at 350°F (175°C) to maintain that crispy skin—just cover them loosely with foil to prevent drying out. If you’re in a hurry, the microwave will work too, but keep an eye on them to avoid making the skin rubbery. Enjoy those tasty leftovers!
Serving Suggestions
Now that you’ve got your delicious baked duck legs ready to go, let’s talk about what to serve alongside them to create a truly memorable meal. The right sides can elevate your dish and make dinner feel even more special!
- Classic Mashed Potatoes: Creamy mashed potatoes are a fantastic choice! They soak up the rich juices from the duck, adding a comforting element to your plate. You can even mix in some roasted garlic for an extra flavor boost!
- Roasted Seasonal Vegetables: Toss together some carrots, Brussels sprouts, and sweet potatoes, and roast them alongside the duck. The caramelization adds a lovely sweetness that pairs beautifully with the savory duck.
- Wild Rice Pilaf: A nutty wild rice pilaf brings a fantastic texture and depth to the meal. You can add some sliced almonds or dried cranberries to the mix for added crunch and sweetness.
- Sauteed Greens: Lightly sautéed spinach or kale with garlic and a splash of lemon juice makes for a fresh, vibrant side that contrasts perfectly with the richness of the duck.
- Fresh Salad: A crisp, refreshing salad with mixed greens, cucumber, and a tangy vinaigrette can brighten up your plate. It’s a great way to balance the meal with some acidity and crunch.
Feel free to mix and match these ideas based on your mood and what you have on hand. No matter what you choose, these sides will enhance the delightful experience of enjoying your baked duck legs!
For more delicious recipes and inspiration, check out our Pinterest page!
Baked Duck Legs
Equipment
- Oven
- Baking dish
Ingredients
Duck Legs
- 4 legs duck legs Make sure they are skin-on.
Seasoning
- 2 tsp salt
- 1 tsp black pepper
- 1 tsp garlic powder
Instructions
- Preheat your oven to 375°F (190°C).
- Season the duck legs with salt, black pepper, and garlic powder.
- Place the duck legs in a baking dish skin-side up and bake for 60 minutes.
- Let the duck legs rest for 5 minutes before serving.