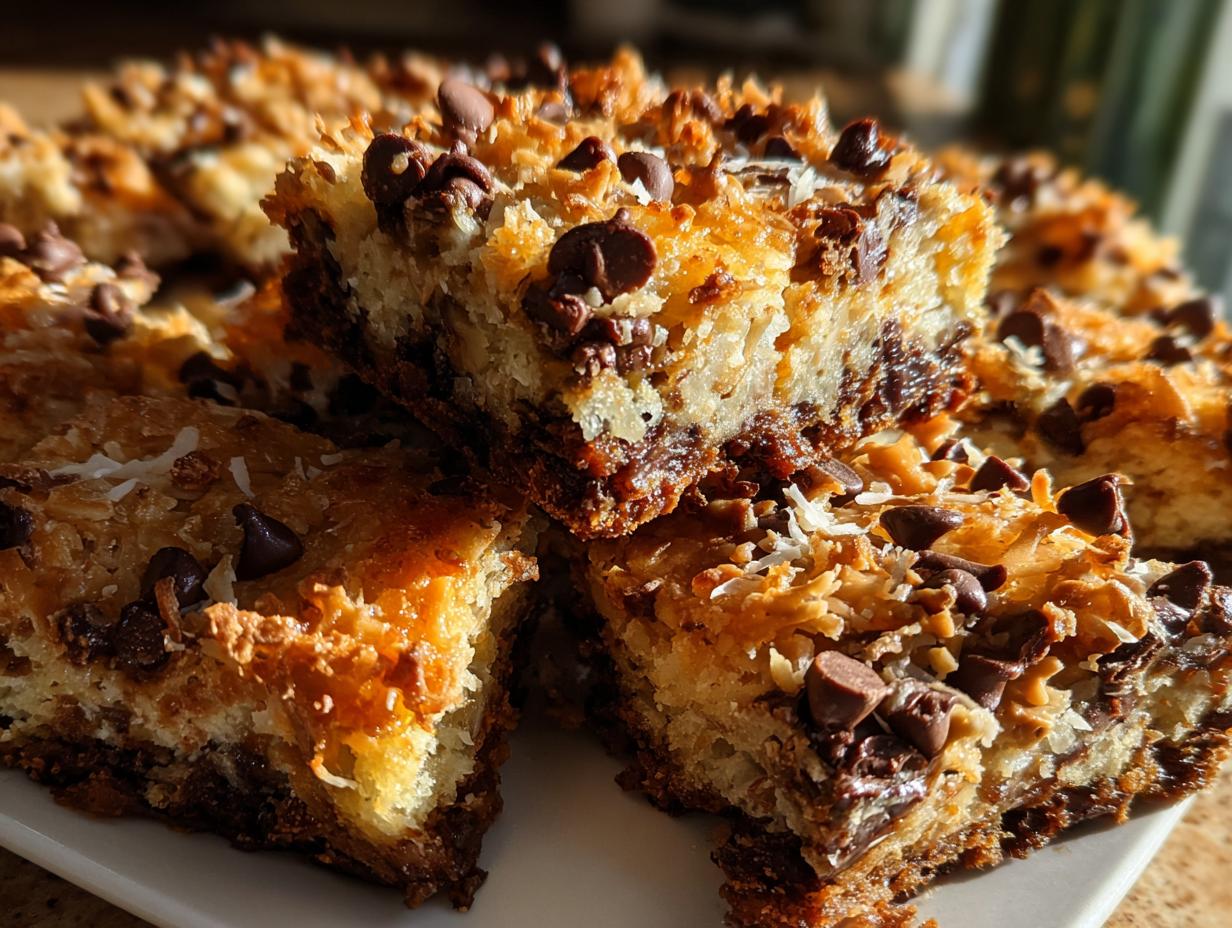
There’s something truly magical about holiday baking, isn’t there? The aromas of spices, the warmth of the oven, and the joy of creating treats that bring smiles to loved ones’ faces make this time of year special. My absolute favorite holiday creation has to be these Christmas Magic Bars Layered. They combine all the things I adore—rich chocolate, creamy butterscotch, and a delightful crunch from the graham cracker base. Every bite feels like a celebration! I remember the first time I made these for a family gathering; the kids couldn’t get enough, and the grown-ups were right there with them, sneaking extra squares when no one was looking. It’s a recipe that always brings us together, and I can’t wait for you to experience the joy that these bars will bring to your holiday festivities. Trust me, once you taste them, you’ll be hooked!
Ingredients List
Here’s what you’ll need to whip up these delicious Christmas Magic Bars Layered:
- For the Base:
- 1 cup unsalted butter, melted
- 1 cup graham cracker crumbs
- For the Layers:
- 1 cup sweetened shredded coconut
- 1 cup chocolate chips
- 1 cup butterscotch chips
- 1 can sweetened condensed milk
How to Prepare Christmas Magic Bars Layered
Making these Christmas Magic Bars Layered is a breeze! Just follow these simple steps, and you’ll have a festive treat that everyone will love in no time.
Step 1: Preheat the Oven
First things first, you’ll want to preheat your oven to 350°F (175°C). Preheating is essential because it ensures your bars bake evenly, helping that delicious golden crust form on top. Trust me, you don’t want to skip this step!
Step 2: Prepare the Base
In a mixing bowl, combine your melted unsalted butter with the graham cracker crumbs. It’s best to mix them until they’re well combined and look like wet sand. Once that’s done, take your baking pan and press the mixture firmly into the bottom. This forms the base, so make sure it’s even and nicely compacted. I like to use the back of a measuring cup for this—it really helps get every corner!
Step 3: Add the Layers
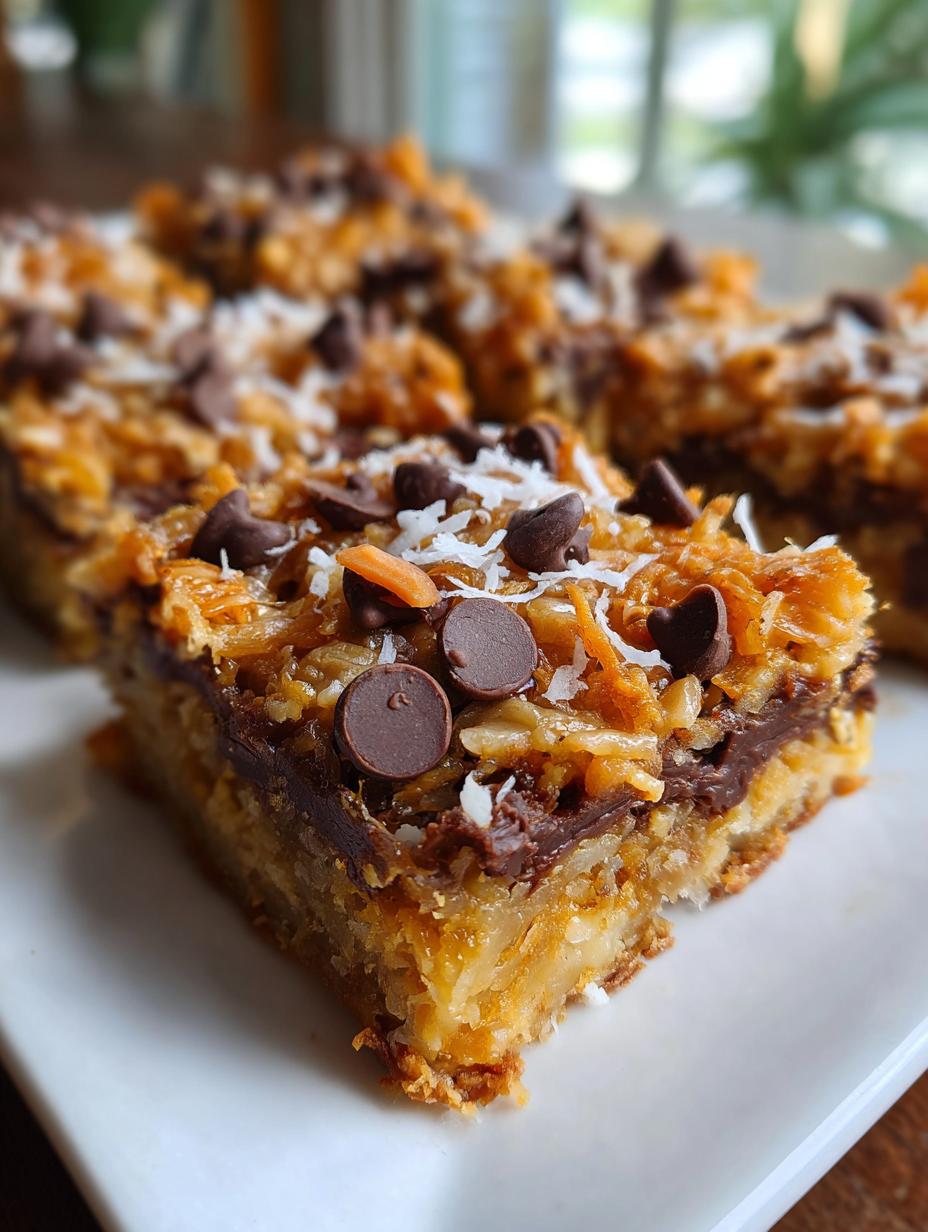
Now, it’s time to build those layers! Start with the sweetened shredded coconut, sprinkling it evenly over your pressed base. Next, toss on the chocolate chips, followed by the butterscotch chips. Don’t be shy—layer them generously! Each layer adds a burst of flavor, making every bite a delightful surprise.
Step 4: Pour the Sweetened Condensed Milk
Grab your can of sweetened condensed milk and pour it evenly over the top of all those layers. This step is crucial; it helps bind everything together and creates that gooey texture we all adore. Make sure you cover every inch—no one likes a dry bite!
Step 5: Bake and Cool
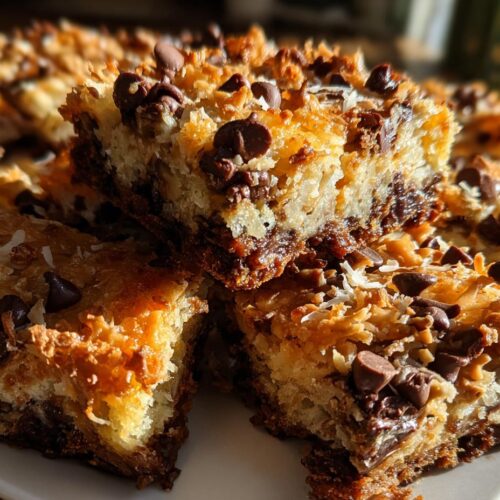
Pop your pan into the preheated oven and bake for about 30 minutes. Keep an eye on it, and look for that beautiful golden brown top. Once it’s done baking, take it out and let it cool completely in the pan. I know it’s tempting to dig in right away, but cooling is key to getting clean cuts when you slice your bars. Patience pays off, I promise!
Nutritional Information
These Christmas Magic Bars Layered are not only delicious but also packed with some nutritional insights to consider. Here’s a breakdown of typical values per serving (1 bar):
- Calories: 250
- Fat: 12g
- Saturated Fat: 7g
- Cholesterol: 20mg
- Sodium: 150mg
- Carbohydrates: 35g
- Fiber: 2g
- Sugar: 18g
- Protein: 3g
- Potassium: 100mg
- Vitamin A: 200 IU
- Calcium: 20mg
- Iron: 1mg
Please note that these values are estimates and can vary based on the specific ingredients you use. Enjoy indulging in these festive bars with a little mindfulness about the treats you’re savoring!
Why You’ll Love This Recipe
These Christmas Magic Bars Layered are a holiday treat you’ll want to make year after year! Here’s why:
- Quick Prep Time: With just 15 minutes of prep, you can whip these up in no time!
- Delicious Layered Flavors: The combination of chocolate, butterscotch, and coconut creates a flavor explosion in every bite.
- Festive Appeal: These bars are perfect for holiday parties, family gatherings, or simply to enjoy at home.
- Easy to Store: Leftovers (if there are any!) can be easily kept for later, making them a great make-ahead dessert.
Trust me, once you taste these bars, you’ll understand why they’re a holiday favorite!
Tips for Success
To make sure your Christmas Magic Bars Layered turn out perfect every time, here are a few pro tips:
- Even Layering: When adding your layers, make sure each ingredient is evenly distributed. This ensures that every bite is packed with flavor!
- Baking Time: Keep an eye on your bars as they bake. Ovens can vary, so start checking around the 25-minute mark for that lovely golden top.
- Cooling Patience: Resist the urge to cut them too soon! Letting the bars cool completely in the pan helps achieve clean, beautiful cuts.
With these tips, you’ll be a pro in no time! Enjoy every delicious layer!
Serving Suggestions
These Christmas Magic Bars Layered are not just a treat on their own; they’re versatile enough to shine in various settings! For a cozy afternoon snack, serve them alongside a steaming cup of coffee or hot cocoa. The rich flavors pair perfectly with a warm beverage, creating a delightful experience. If you’re hosting a holiday party, consider cutting them into smaller squares and arranging them on a festive platter. They make a charming addition to any dessert table! You can even add a scoop of vanilla ice cream on the side for an indulgent dessert that will impress your guests. Enjoy the magic!
Storage & Reheating Instructions
Storing your Christmas Magic Bars Layered is super easy! Just place any leftovers in an airtight container, and they’ll stay fresh for up to a week—if they last that long! I love to keep them at room temperature for a soft, chewy bite, but you can also refrigerate them if you prefer a firmer texture.
If you want to enjoy them warm, simply pop a bar in the microwave for about 10-15 seconds. This little heat brings back that gooey goodness we all love. Trust me, you’ll want to savor every last bite!
FAQ Section
Got questions about these scrumptious Christmas Magic Bars Layered? I’ve got you covered! Here are some common queries that pop up:
- Can I substitute ingredients? Absolutely! You can swap out the butterscotch chips for peanut butter chips if you want a different flavor. Feel free to use dairy-free chocolate chips to make it vegan-friendly!
- How long can I store these bars? These bars can be kept in an airtight container for up to a week at room temperature. If you want to extend their shelf life, refrigerate them, and they’ll stay fresh for up to two weeks.
- What variations can I try? To mix things up, consider adding chopped nuts like pecans or walnuts between the layers for an extra crunch. You could also fold in some dried fruit for a festive twist!
- Can I freeze them? Yes! These Christmas Magic Bars Layered freeze beautifully. Just wrap them tightly in plastic wrap and place them in a freezer-safe container. They’ll be good for up to three months!
With these tips, you’ll be ready to tackle any questions that come your way! Enjoy baking and sharing the magic!
Christmas Magic Bars Layered
Equipment
- Baking Pan
- Mixing bowl
Ingredients
For the Base
- 1 cup unsalted butter melted
- 1 cup graham cracker crumbs
For the Layers
- 1 cup sweetened shredded coconut
- 1 cup chocolate chips
- 1 cup butterscotch chips
- 1 can sweetened condensed milk
Instructions
- Preheat your oven to 350°F (175°C).
- In a mixing bowl, combine melted butter and graham cracker crumbs. Press the mixture into the bottom of a baking pan to form the base.
- Layer the shredded coconut, chocolate chips, and butterscotch chips over the base.
- Pour the sweetened condensed milk evenly over the layers.
- Bake for 30 minutes or until the top is golden brown. Let it cool before cutting into bars.