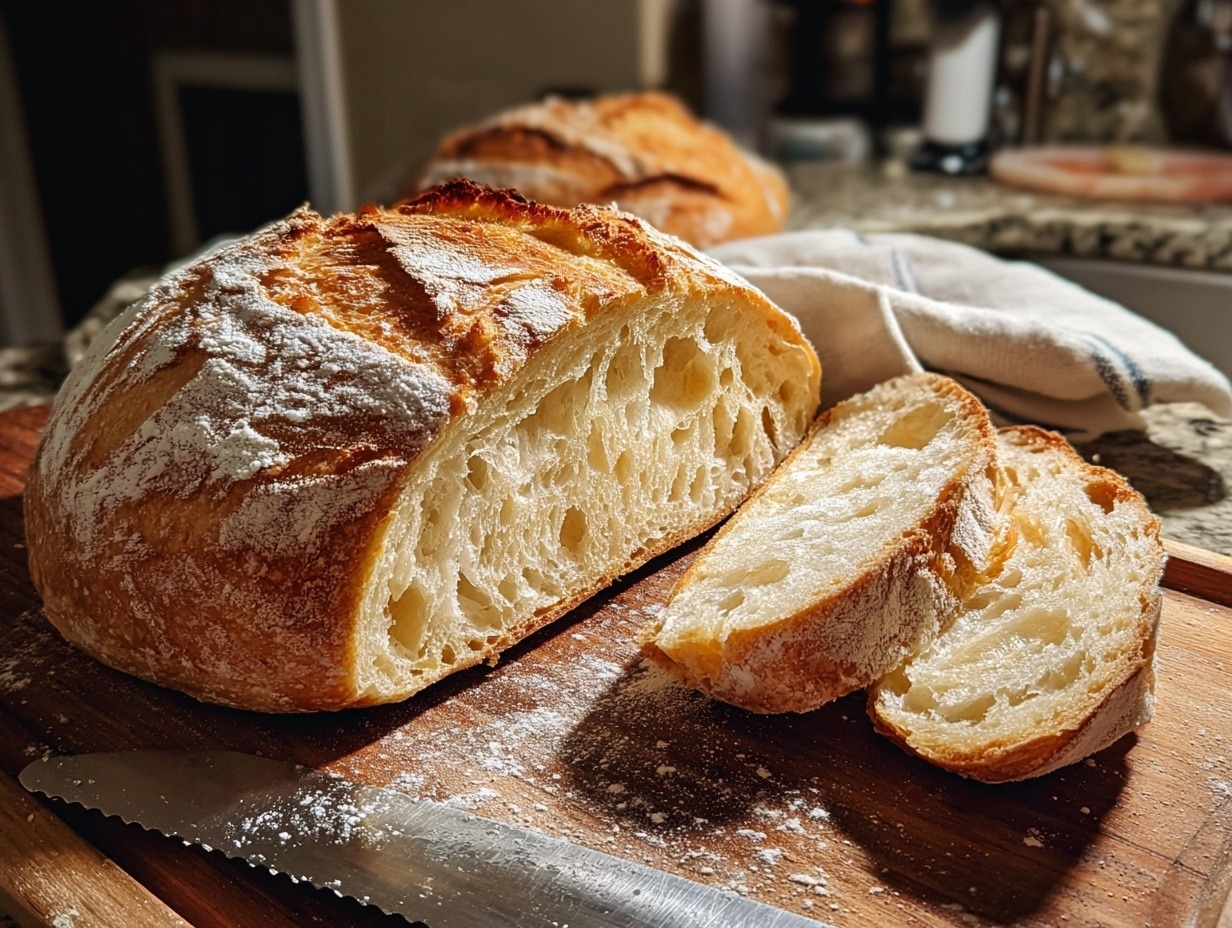
This foolproof 4-ingredient no-knead artisan bread recipe delivers professional bakery results with minimal effort and maximum flavor. Using a long, slow fermentation process, this bread develops complex tangy notes and an incredibly airy crumb structure that rivals expensive artisan loaves. The secret lies in time rather than technique – let the dough do the work while you go about your day. With just flour, salt, yeast, and water, you’ll create a crusty exterior that crackles when you slice it, revealing a perfectly tender, hole-filled interior. This forgiving recipe works around your schedule and transforms beginners into confident bread bakers.
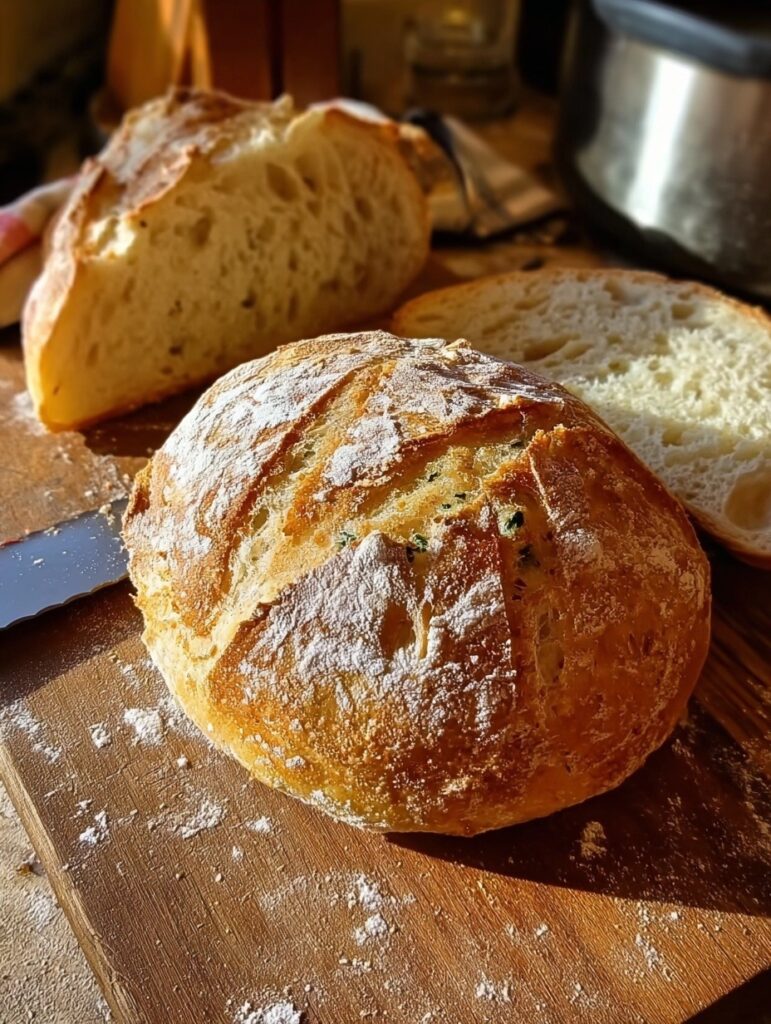
Table of Contents
Essential 4-Ingredient No-knead Artisan Bread Components
Simple Ingredients for Professional Results
- 3 cups all-purpose flour (400g) – unbleached preferred for best flavor development
- 1 1/2 teaspoons fine sea salt – controls yeast activity and strengthens gluten
- 1/4 teaspoon instant yeast – tiny amount creates slow, flavorful fermentation
- 1 1/2 cups warm water (105-115°F) – should feel like a comfortable bath temperature
Pro Tip: Bread flour can be substituted 1:1 for a chewier texture, but all-purpose flour works beautifully.

Perfect 4-Ingredient No-Knead Artisan Bread
Equipment
- Large mixing bowl
- Wooden spoon or spatula
- Plastic wrap or kitchen towel
- Parchment paper
- 5-6 quart Dutch oven with lid
- Sharp knife for scoring
- Wire cooling rack
Ingredients
Essential Bread Components
- 3 cups all-purpose flour 400g, unbleached preferred for best flavor development
- 1 1/2 teaspoons fine sea salt controls yeast activity and strengthens gluten
- 1/4 teaspoon instant yeast tiny amount creates slow, flavorful fermentation
- 1 1/2 cups warm water 105-115°F, should feel like a comfortable bath temperature
Instructions
- Combine Dry Ingredients for Perfect Distribution (3 minutes): In a large mixing bowl, whisk together flour, salt, and instant yeast until evenly distributed. Proper mixing prevents uneven fermentation and ensures consistent flavor throughout.
- Create Shaggy Dough (5 minutes): Pour warm water over dry ingredients. Using a wooden spoon or spatula, mix until all flour is hydrated and a sticky, shaggy dough forms. Don’t worry about smoothness.
- Begin Long Fermentation (12-18 hours): Cover bowl tightly with plastic wrap or damp towel. Let rise at room temperature for 12-18 hours. The dough will become bubbly, jiggly, and develop a pleasant fermented aroma.
- Gentle Shaping Technique (10 minutes): Turn risen dough onto lightly floured surface. With wet hands, gently fold edges toward center 4-6 times to create surface tension. Don’t knead – preserve those precious air bubbles!
- Second Rise for Final Development (1-2 hours): Place shaped dough seam-side down on parchment paper. Dust with flour, cover loosely, and let rise until increased by 50%. Dough should leave slight indentation when gently poked.
- Preheat Dutch Oven for Perfect Crust (30-45 minutes): Place covered Dutch oven in oven and preheat to 450°F. The thoroughly heated pot creates essential steam for that signature crackling crust.
- Score and Bake for Artisan Results (45 minutes): Score dough with sharp knife for controlled expansion. Transfer to hot Dutch oven using parchment paper. Bake covered 30 minutes, then uncovered 15-25 minutes until deep golden brown.
- Cool Completely for Perfect Texture (1-2 hours): Transfer to cooling rack and resist slicing until completely cool. This step is crucial for proper crumb structure.
Notes
Foolproof No-Knead Artisan Bread Method – Step by Step
Day 1: Effortless Dough Creation (10 minutes)
- Combine Dry Ingredients for Perfect Distribution (3 minutes): In a large mixing bowl, whisk together flour, salt, and instant yeast until evenly distributed. Proper mixing prevents uneven fermentation and ensures consistent flavor throughout.
- Create Shaggy Dough (5 minutes): Pour warm water over dry ingredients. Using a wooden spoon or spatula, mix until all flour is hydrated and a sticky, shaggy dough forms. Don’t worry about smoothness – the rough texture is exactly what you want.
- Begin Long Fermentation (2 minutes setup): Cover bowl tightly with plastic wrap or damp towel. Let rise at room temperature for 12-18 hours. The dough will become bubbly, jiggly, and develop a pleasant fermented aroma.
Day 2: Shaping and Baking (45 minutes active time)
- Gentle Shaping Technique (10 minutes): Turn risen dough onto lightly floured surface. With wet hands, gently fold edges toward center 4-6 times to create surface tension. Don’t knead – preserve those precious air bubbles!
- Second Rise for Final Development (1-2 hours): Place shaped dough seam-side down on parchment paper. Dust with flour, cover loosely, and let rise until increased by 50%. Dough should leave slight indentation when gently poked.
- Preheat Dutch Oven for Perfect Crust (30-45 minutes): Place covered Dutch oven in oven and preheat to 450°F. The thoroughly heated pot creates essential steam for that signature crackling crust.
- Score and Bake for Artisan Results (45 minutes): Score dough with sharp knife for controlled expansion. Transfer to hot Dutch oven using parchment paper. Bake covered 30 minutes, then uncovered 15-25 minutes until deep golden brown.
- Cool Completely for Perfect Texture (1-2 hours): Transfer to cooling rack and resist slicing until completely cool. This step is crucial for proper crumb structure.
Expert Tips for Consistent Artisan Bread Success
The key to exceptional results lies in understanding fermentation timing and proper hydration. This high-moisture dough creates the open crumb structure characteristic of artisan breads. These loaves pair beautifully with our homemade banana pudding recipe for a complete comfort meal, or serve alongside our dill pickle dip recipe for entertaining.
Temperature affects timing significantly – warmer kitchens speed fermentation while cooler environments extend it. The flexible 12-18 hour window accommodates most schedules while developing optimal flavor.
For more recipes Follow me on Pinterest.
Artisan Bread Variations and Storage Solutions
Transform this base recipe into gourmet varieties by adding herbs (rosemary, thyme), cheese (1/2 cup shredded), seeds (sunflower, sesame), or olives during initial mixing. For whole grain versions, substitute up to half the flour with whole wheat.
Store finished bread cut-side down on cutting board or in paper bag to maintain crust integrity. For longer storage, slice and freeze in airtight containers for up to 3 months. Refresh day-old bread in 350°F oven for 5-10 minutes to restore crispness.
This no-knead method proves that exceptional homemade bread requires patience rather than skill, delivering consistent bakery-quality results that will impress family and friends while building your confidence as a home baker.